

This is my third and last post for the diy anniversary party. I've already shown you the sweet table and drink station and today I'm going to share with you some of the extra party details that I set up.

I set up a table with macaron favors and an alternative guest book idea for guests before they leave to go home.
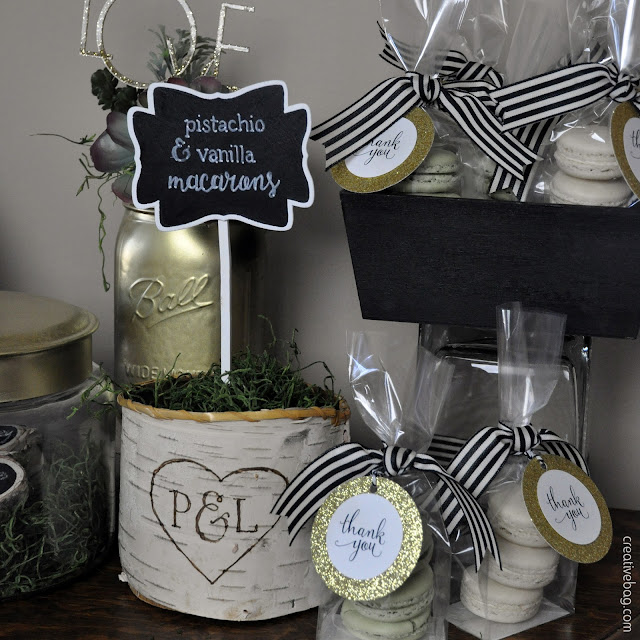
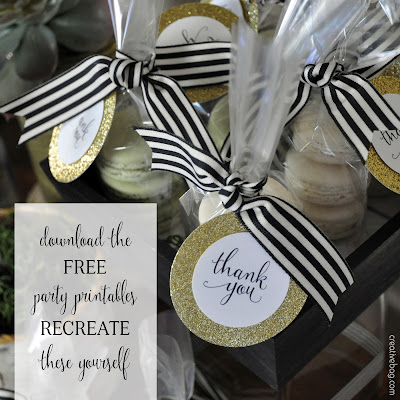
Our vanilla and pistachio macaron favors were created by Bake Sale.
I could have added the macarons to the sweet table but I thought that it would be nice to have a little something to offer guests with a long drive home - especially if the party is at the cottage! I packaged three macarons in our 2-5/8"x1-7/8"x11" econo hard bottom candy bags.
I placed a chalkboard sign by the macarons similar to the ones I created for the sweet table. The sign was inserted into a birch container filled with moss. I drew a design with pencil on the birch container and then used a wood burner to complete the project. If you don't have a wood burner, use a brown sharpie marker to create a similar effect on a birch covered vase.

The favor packages were embellished with black and white ribbon. The gift tags were created using graphics from the party printables that were printed on white card stock and glued to glitter paper circles. Black baker's twine was used to tie the gift tag to the bag.
Lorrie's tip: Our new econo flat bottom candy bags are a cost effective option for packaging favors. There are a number of size options so it's easy to find a size to suit your needs. If the bags are too long it is easy to cut the tops down to fit whatever you put inside.
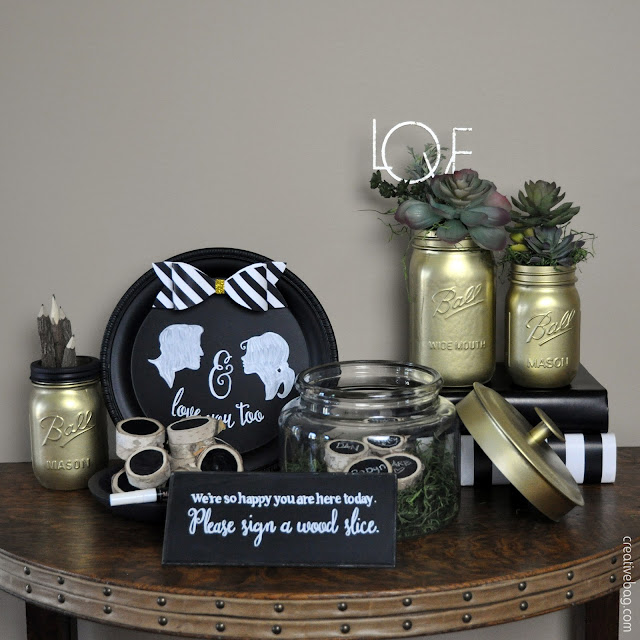

I'm sure that you had a guest book at your wedding ... so why not set up a guest book alternative at your anniversary party. To co-ordinate with the party theme I wanted guests to sign mini wood slices that I painted on one side with chalkboard paint.
Guests can sign the blank wood pieces with a chalk marker and then place them inside a glass container. I lined the bottom of the glass container with moss and spray painted the lid with gold paint.

You can find the tutorial for making paper bows from the party printables here.

Chalkboards signs let guests know what to do ... a great idea if you are doing something a little different!!

Spray paint is an easy way to add colour to pretty much anything to match your party theme.
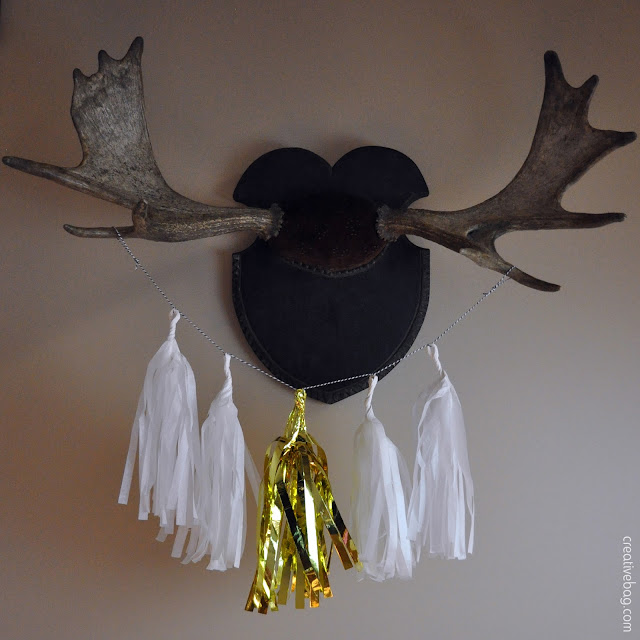
Tissue paper tassel garlands are still one of my favourite party decor items. These ones were made from the same David Tutera tissue and mylar tassel kit that I used for the balloons by the drink station.

One last detail - I like to keep a supply of take out boxes on hand for party leftovers. They are way less expensive than giving away your plastic food containers and guests can fill them up without feeling obligated to return the containers later.
I hope that I have inspired you to throw a party whether it is an anniversary party or just an excuse to get together with family and friends.
Here's my party mood board -
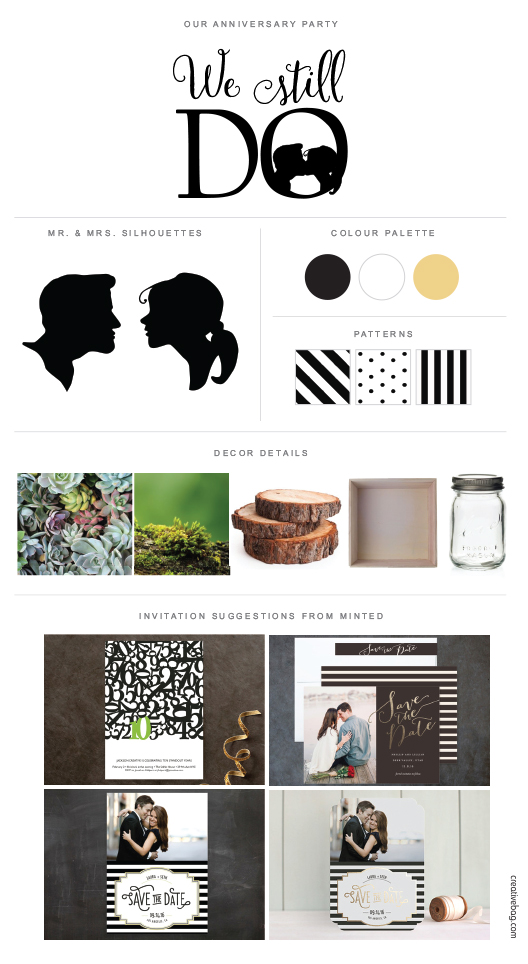
I did not design invitations for this party so I quickly looked to see if Minted had any that I thought would co-ordinate with the look of my party theme and party printables. Above is what I came up with ... top left, bottom left, top right, bottom right. I especially like the designs on the right with the gold foil details.
Here's the downloads for the party printables again!
Special thanks again to Bake Sale for supplying all of the baked goods for the photo shoot!


⋅No comments
Post a Comment