

Are you planning to make your own wedding or party stationery? If you are ... we have lots of diy stationery kits in our stores and online.
We stock these items in the wedding section but I want to show you that the papers in these kits can be used for more than just wedding invitations. It is very easy to customize these papers using your printer, some embellishments and your imagination.
Here's how I created the samples shown above using my home computer & printer:

ADDING YOUR TEXT
On my computer, I prepare all of my type in a document that is sized to fit the stationery paper I will be printing on. I work in Photoshop and Illustrator but you can do this in the software of your choice.
Tip: To make sure that all of your type is set to fit within the blank space of the invitation, set your margins and leave 1/2" of white space between the stationery design and your text.
Once I am happy with my text, I save the art and open a new 8.5" x 11" document. I paste my saved art to the new document and position the art so that it will fit in the top left corner. I do that so that I can easily line up the invitation papers.
PRINTING
1. Test print your letter size document on regular bond paper. Tip: do not allow your computer to resize or centre your image. You need to print as is (size and position).
2. Then I use a light source to make sure that I am happy with the invitation set up and positioning of the text. You should be able to see through the papers and get a good idea of final placement ... see #2 above. If you don't like what you see ... go back to the computer and modify your text. If you are good to go, add a few small pieces of masking tape (or painter's tape) to the edge of the stationery to hold it in place against the bond paper for printing.
3. Manually feed the combined papers through your printer. Carefully remove the tape from the invitation so that you do not tear the paper and admire your work!! You can continue to print more invitations using the same bond paper.

Keep in mind that the font(s) that you use and the colour of the font(s) will set the tone for your event. We have stationery designs that are very elaborate like the letterpress sample shown above in pink and brown but we also carry designs that are less ornate and can be customized to fit many different themes.
You can customize your stationery using embellishments. Our new resin flowers are perfect for wedding stationery. They are available in three different sizes and lot of colours. In the sample above I knew that I would be adding the resin to the top of the stationery so I positioned the text with that in mind.
Tip: I used Inkssentials Glossy Accents (available in the Toronto store's Creative Studio space) to adhere the resin flowers to the paper and know that it works well. I would suggest that you test whatever glue you want to use to make sure that the resin bonds smoothly to the paper before you do too many invitations.

So here is the same stationery kit paper but this time I used it to create menus. Who said that stationery kits had to be used for just invitations? And because this would not be sent in the mail, I used one of our large resin flowers to decorate this piece.

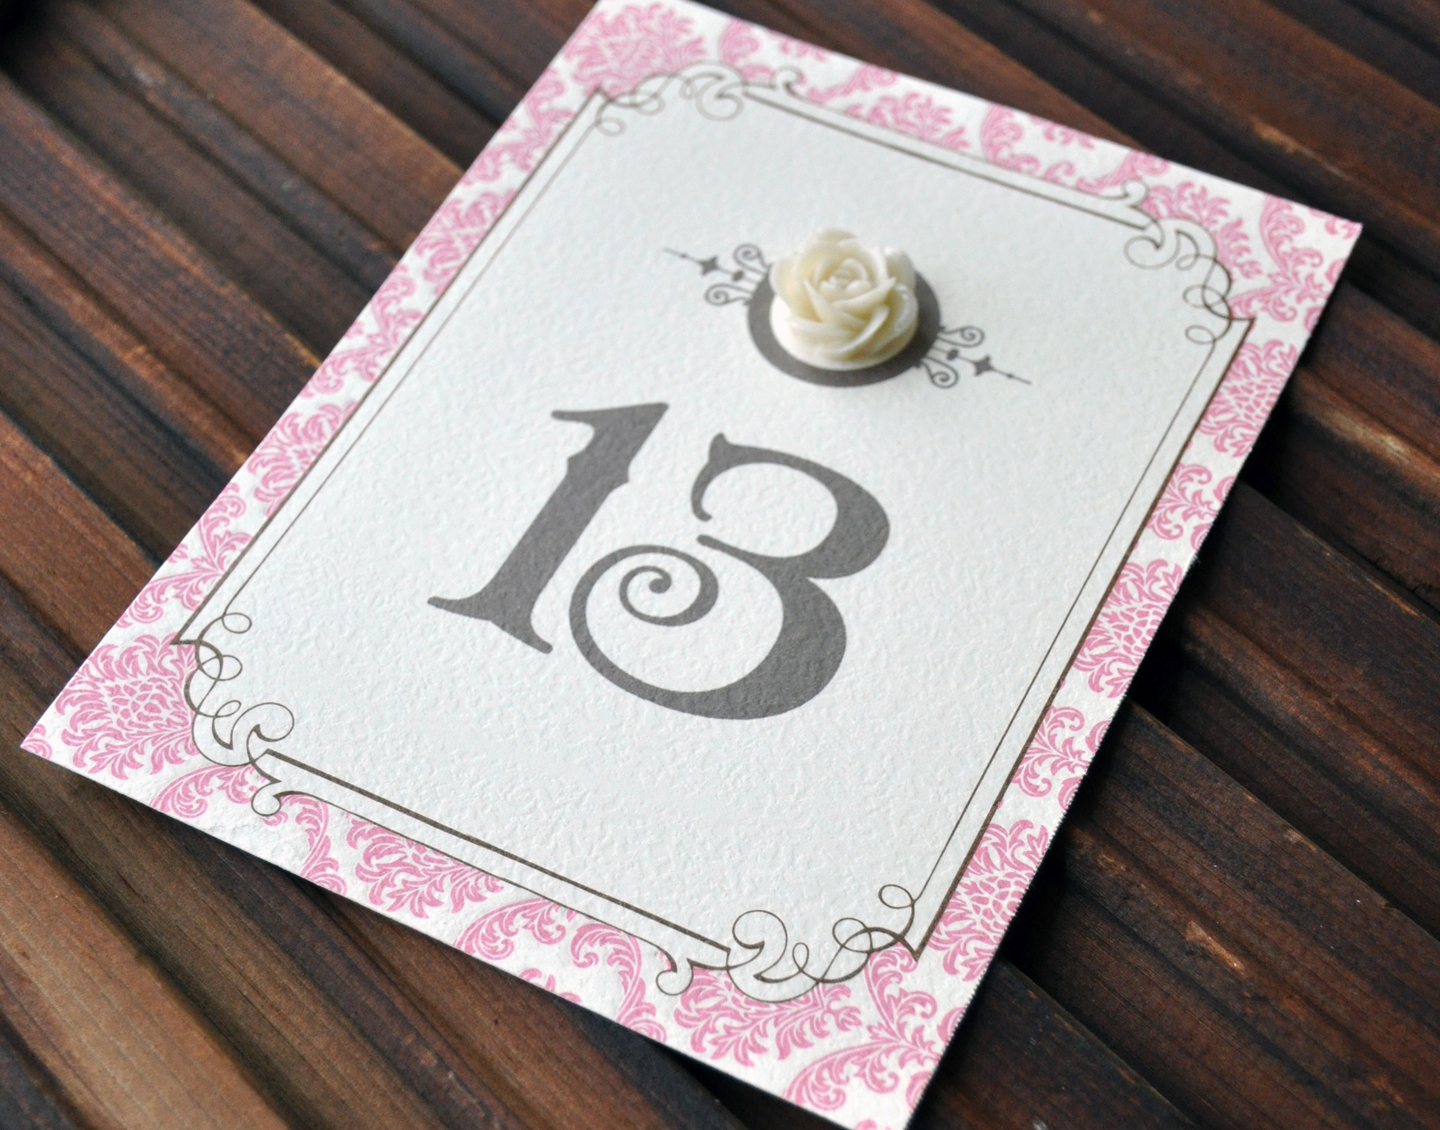
To create table numbers, I would use either the large or the small (as seen above) stationery. In my sample above, I designed the art so that a small resin flower could be positioned on top ... which is a good idea if you have someone helping you to assemble a lot of these because they will know exactly where to place the embellishment.

We sell the Sew Ribbon Tool in the Creative Studio at the Toronto store.

We have lots of simple "thank you" cards that can be embellished with ribbons, resin flowers and rhinestone buckles.

Here's one last project that I wanted to share with you. This time I created a little home decor item using the letterpress stationery. I knew that I wanted to add a resin flower to this piece, so after printing the quote, I used two sided tape to adhere the paper to the glass of a picture frame.


⋅1 comment
Love these and how great is that tool!!
Post a Comment