Showing posts with label free download. Show all posts

wrapping paper is not just for wrapping gifts!

Friday, 30 September 2016

10 wrapping paper projects that don't involve gift wrapping | Creative Bag

Wrapping paper is not just for wrapping gifts. And here's 10 DIY project ideas to inspire you.

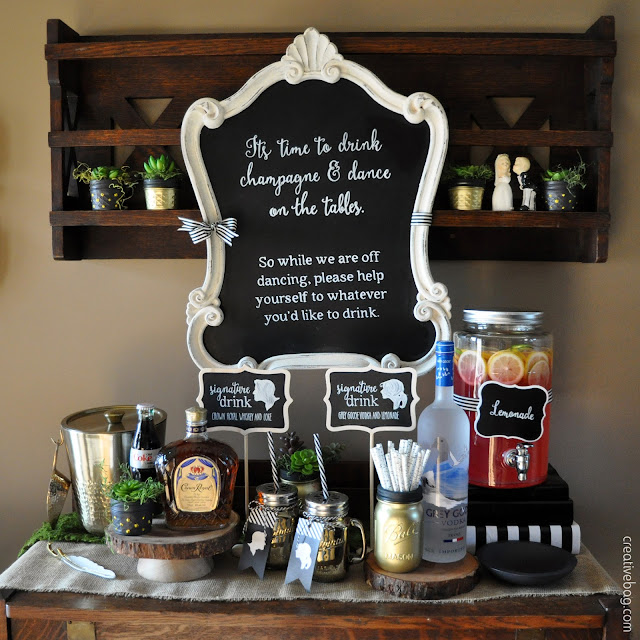
I created these projects with holiday entertaining and decorating in mind but you can use the same projects with whatever wrapping papers you want for a wedding reception, party or holiday entertaining. 

I used three co-ordinating wrapping papers that are currently in stores and online. One wrapping paper is solid gold, one has a simple gold and white confetti dot graphic and the third one has a fun hand lettering print in gold and white

10 wrapping paper projects that don't involve gift wrapping | Creative Bag

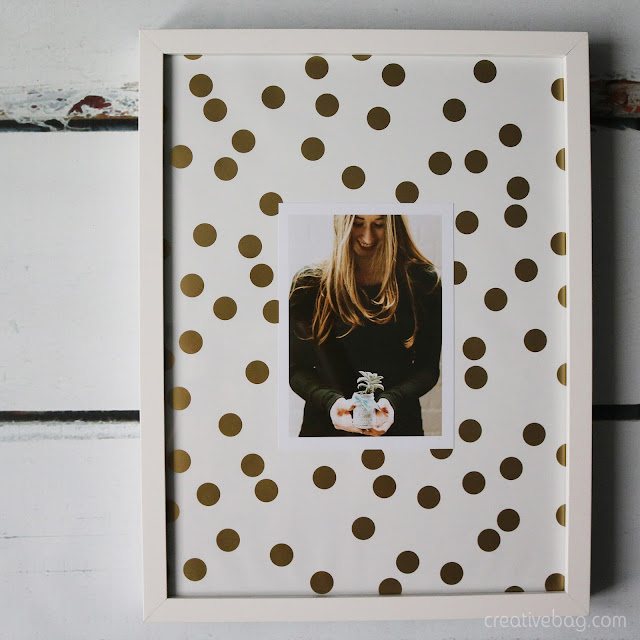
1. Use wrapping paper as a matte for photos. Simple frames work best so your wrapping paper and photo take centre stage.

10 wrapping paper projects that don't involve gift wrapping | Creative Bag

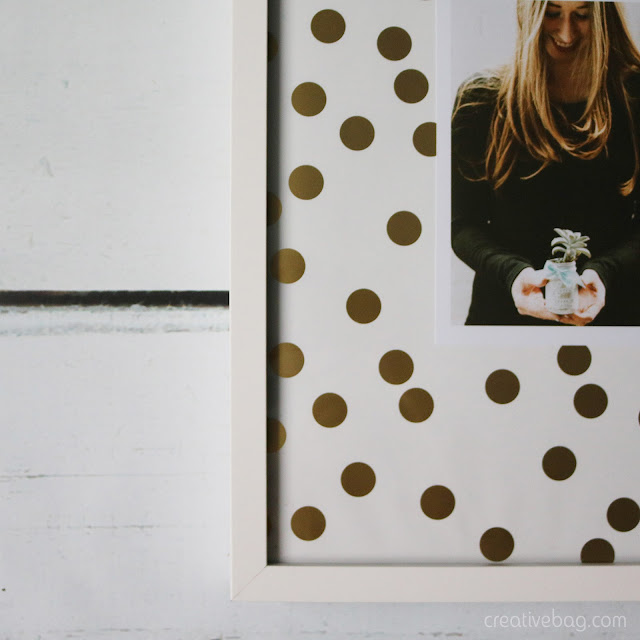
Tip: If you are using a wrapping paper with a print, your photo should have a white border.

10 wrapping paper projects that don't involve gift wrapping | Creative Bag

2. I framed this beautiful gold wrapping paper and used a white marker to add a message to the outside of the glass.

10 wrapping paper projects that don't involve gift wrapping | Creative Bag

Tip: Use a solid paper so your hand lettering stands out. You can trace an image onto the glass if you don't have great handwriting. Use a water based marker that can be removed from the glass.

10 wrapping paper projects that don't involve gift wrapping | Creative Bag

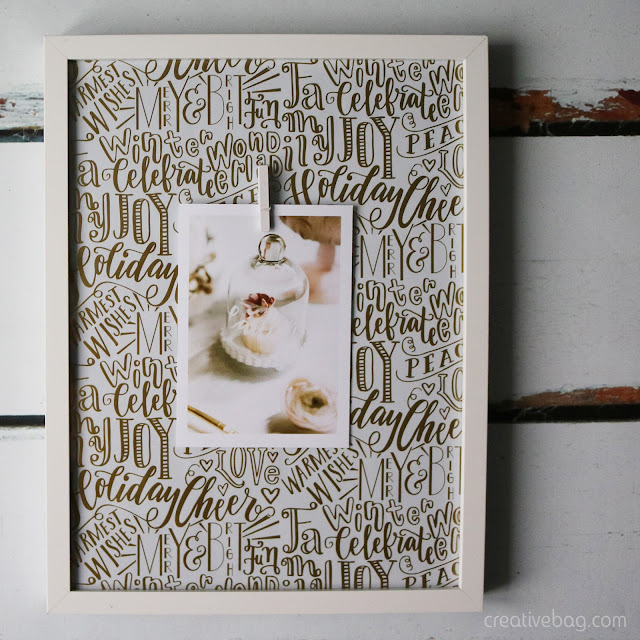
3. Here's one more framed wrapping paper idea. This time I framed the wrapping paper and glued a mini clothespin to the glass to hold a photo.

10 wrapping paper projects that don't involve gift wrapping | Creative Bag

I love this concept of adding the clothespin to the glass to hold a photo. It makes changing photos easy and quick. Think of it. You could change the photos that you display every day during the holidays. You could even use this as a holiday countdown and feature cards with numbers.

10 wrapping paper projects that don't involve gift wrapping | Creative Bag

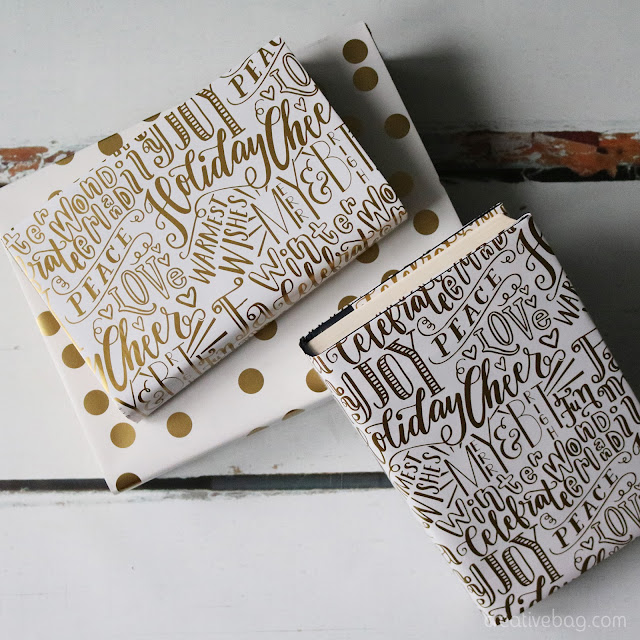
4. Got lots of books? Use wrapping paper as book jackets.

10 wrapping paper projects that don't involve gift wrapping | Creative Bag

You can use the books as decorative elements in your decor. You can also use them in food displays to elevate serving dishes. 

10 wrapping paper projects that don't involve gift wrapping | Creative Bag

5. You can also use bands of left over wrapping paper on boxes. Decorated boxes can be used in displays and like books, in food presentations to elevate cake stands and serving dishes.

10 wrapping paper projects that don't involve gift wrapping | Creative Bag

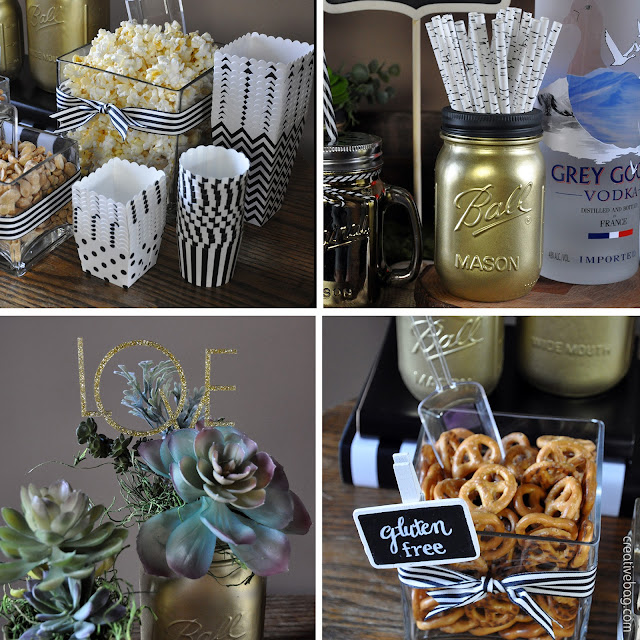
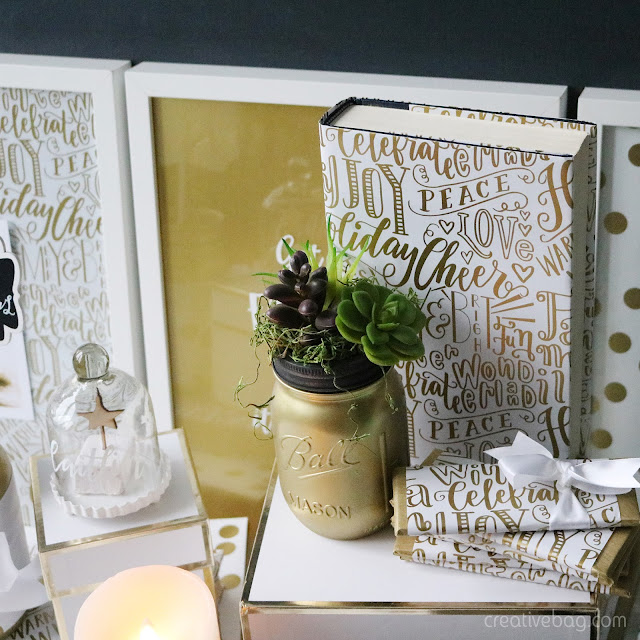
6. Wrapping paper bands can also be added to mason jars. I spray painted my mason jars and added satin ribbon to finish.

10 wrapping paper projects that don't involve gift wrapping | Creative Bag

Jars can be used in so many ways. As a vase for flowers, as a base for signs on a sweet table and as a container for utensils to just name a few.

10 wrapping paper projects that don't involve gift wrapping | Creative Bag

7. You can create your own cake liners by laminating wrapping paper. I showed you how to do this here. 

10 wrapping paper projects that don't involve gift wrapping | Creative Bag

8. Flameless candles will match your decor when you add a band of wrapping paper and finish with a simple ribbon.

10 wrapping paper projects that don't involve gift wrapping | Creative Bag

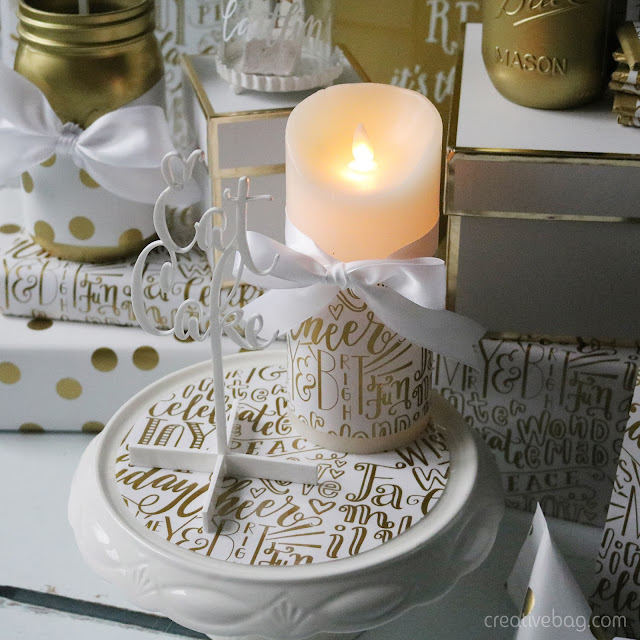
Tip: Flameless candles work best for this project. There will be a fire issue with real candles.

10 wrapping paper projects that don't involve gift wrapping | Creative Bag

9. Wrapping paper and tissue paper were used to turn ordinary chocolate bars into pretty favours. I wrapped the chocolate bars in gold tissue paper first and added a band of wrapping paper to finish. Stack these up on a sweet table. Add a ribbon and maybe a name tag to use as escort cards at table settings.

10 wrapping paper projects that don't involve gift wrapping | Creative Bag

10. Make your own favour packaging like these using wrapping paper. I've shown you how to make the paper tube favours before and I'm going to show you how to make the small flat bag now ... 

10 wrapping paper projects that don't involve gift wrapping | Creative Bag

Supplies: download template filewrapping paper, scissors, two-sided tape, pencil, ruler, bone folder.

1. Print and cut out the flat bag template. 
2. Use a pencil to trace out the template and mark the areas that need to be folded.
Note: If your wrapping paper has a pattern like my example, make sure that it will be right side up when you trace the template.


10 wrapping paper projects that don't involve gift wrapping | Creative Bag

3. Score the fold lines on the wrapping paper bag as indicated on the template. 
4. Cut the wrapping paper bag and fold. 
5. Add two-sided tape to the bag in the two areas as indicated on the template.

10 wrapping paper projects that don't involve gift wrapping | Creative Bag

6. Peel and stick the two-sided tape on the back side as shown above.
7. Peel and stick the two-side tape on the bottom flap of the bag as shown above.
8. Here's the fun part - you can make these simple bags your own by using decorative scissors to cut the top. I used a hole punch to create two holes so I could add ribbon or twine to close.


We'd love to see if you make any of these wrapping paper ideas. You can share your finished projects with us on Instagram using @creativebagco and #creativebaginspire


Hand Lettering on our chalkboards. Do It Yourself or hire an hand lettering artist!

Wednesday, 28 September 2016


Earlier this year, I organized a boho inspired styled wedding shoot with a number of local wedding vendors that were taking part in ReBash 2016


Today I am excited to tell you that this beautifully hand lettered chalkboard by Doris Wai has been featured here along with my DIY hand lettering on chalkboards tutorial.   


In my DIY tutorial, I created a free download to recreate the hand lettering on this ornate chalkboard ... 


... and a free download to recreate the hand lettering on these smaller chalkboard signs.

Our chalkboard markers and chalkboard signs can be used for more than just weddings - they are perfect for parties, home decor and retail displays.

By the way, if you are looking to hire a hand lettering artist, we highly recommend Doris Wai.


 We think Doris is pretty talented. So talented, that we hired Doris to design this beautiful white and gold holiday print. It's available now as wrapping paper and tissue paper!


Girls just want to have sweets! Let's celebrate with a special offer from LA Candy Bar and a free printable.

Monday, 21 March 2016


The new Blake collection was the inspiration for this sweet party theme that we set up in our Mississauga store. Whether you are hosting a baby or bridal shower, birthday party or Mother's Day get together we have lots of diy ideas here to help you get the party started. Special thanks to our friends at LA Candy Bar in Burlington for supplying the sweet treats for the sweet table display and favor packaging


Everyone loves sweets and it's so easy to co-ordinate candy colours with your party decor. The Blake collection is very colourful so we were able to use a large variety of different candies in our display.


We used an assortment of different glass jars to display the candy for our sweet table. Don't forget to add candy scoops and small candy bags for guests to help themselves. 


Your guests will be happy when you send them home with these diy candy favors.


We used the Martha Stewart fringe cutter with the Blake tissue paper to make these tassels and fringed decorations for the tables.


Assorted wraphia and ribbons were used on the favors along with custom stickers


Favor packaging from top left: clear pails, clear take out boxes, clear boxes and econo candy bags.


These clear tubes make great favors. Add a piece of glitter or washi tape to keep the lids in place and add a decorative element.


And now here's a sweet deal for Creative Bag customers from LA Candy Bar in Burlington. Spend $99 or more on bulk gummy candy and they will give you a 15% discount. Just refer to code "creativecandy15" at the time of purchase. Offer is valid from March 18th, 2016 to August 31st, 2016 when you shop instore.*
*No cash value. No cash back. No rain checks. Cannot be combined with any other offer. 


I created this printable for the sweet table display and you can download it here to use at your sweet party too!


free download and your last chance to enter the holiday gift away

Sunday, 22 November 2015


In our last post about our third holiday giveaway I featured a picture of a tote bag filled with holiday goodies. The bag was embellished with an iron on transfer that I designed to go along with our 1961 collection. Today I'm going to share the graphics for the iron on transfer with you as a free download.


You can use the large iron on transfer on our large cotton tote bags


There are also two smaller designs in the printable that can be used on our small drawstring cotton and linen bags. If you like free downloads and printables you may want to follow our printables Pinterest board.


If you have not yet entered to win the 1961 holiday giveaway, this is your last chance ... time is running out. You can find the contest post to enter here.


you can do it yourself - throw an anniversary party (part 2 of 3)

Monday, 20 July 2015


drink station at anniversary party by Lorrie Everitt for Creative Bag

This is part two of my diy anniversary party and today is all about the drink station.

I think that you should be able to enjoy your party so unless you plan hire someone to tend bar, a self serve drink station is my favourite way to go. 

drink station at anniversary party by Lorrie Everitt for Creative Bag

I created this blackboard sign and hung it above the drink station so that everyone would know it was a self serve bar. I glued the same ribbon I used on the sweet table to the frame.

 The art to recreate the sign is included in the printables you can download for free in my last post. You may recognize this blackboard sign from another party set up.

drink station at anniversary party by Lorrie Everitt for Creative Bag

Signature drinks are a nice way to personalize your drink station. I created the signature drink signs on larger blackboard signs on sticks.

More gold spray painted mason jars spray were added to the set up to display paper straws and succulents. I used the birch paper straws to decorate the cake pops on the sweet table so it made sense to use them again at the drink station. Another decorative detail from the sweet table set up that I incorporated into the drink set up is the use of rustic wood slabs.

Lorrie's tip: Don't set up complicated signature drinks at a self serve bar. Make it something personal that is easy for guests to mix themselves.

drink station at anniversary party by Lorrie Everitt for Creative Bag

We have an assortment of mason jar mugs with a metallic finish daisy lid and plastic straw in select stores (until quantities last). I tied gift tags from my party printables to two of the metallic mugs to add to the signature drink theme.

drink station at anniversary party by Lorrie Everitt for Creative Bag

I filled one of our drink dispensers with lemonade and placed it on top of a stack of books that I covered with wrapping paper book jackets. I placed a bowl under the spout to prevent lemonade spills on the burlap table runner and furniture.

Lorrie's tip: The lemonade chalkboard sign was attached to the ribbon on the drink dispenser using magnets. I glued a magnet on the back of the chalkboard sign and used a second magnet behind the ribbon to keep the sign in place.

drink station at anniversary party by Lorrie Everitt for Creative Bag

Our mason jar mugs are perfect for parties and they make great favors. Guests take them home and you don't have dirty dishes to wash in the morning - bonus!

We will have marquee letter signs arriving soon. Marquee signs are a great way to light up a drink station at night.

drink station at anniversary party by Lorrie Everitt for Creative Bag

Here's a closer look at the mason jar mugs. I added blackboard sticker labels for the guys and added their names using a chalk marker. For the girls I added gold glitter letter stickers to co-ordinate with my black, white & gold colour theme.

The chalkboard sign lets guests know that they can keep the glasses and reminds them that they can serve themselves!

drink station at anniversary party by Lorrie Everitt for Creative Bag

I also set up a small snack table beside the drink station with peanuts, pretzels and popcorn.

drink station at anniversary party by Lorrie Everitt for Creative Bag

drink station at anniversary party by Lorrie Everitt for Creative Bag

Square glass containers were filled with snack foods. Ribbon decorated the glass containers and small chalkboard signs with clothespins helped identify food for people with allergies. Our new line of party food containers are the perfect size for guests to fill (and refill) with snacks.

Above are some more close ups of the gold spray painted mason jars. I added this gold sparkle cake topper to the succulent floral arrangement.

Lorrie's tip: If you have room to serve lemon and lime slices to your drink bar use additional   square glass containers to display them.

drink station at anniversary party by Lorrie Everitt for Creative Bag

I hung an ornate vintage inspired frame and filled it with black and white photos. After the party you can use the frame as it is or as a way to display whatever you want.

Lorrie's tip: Convert all of your photos to black and white to co-ordinate with the colour theme. I considered spray painting the frame gold as well to work with the party colour theme but ended up leaving it white to match my home decor for after the party. 


I added black and white balloons filled with helium to the drink station. The gold mylar tassel is from this tassel kit . If you want to add a long strand of tassels to the balloons you need to have lots of small balloons (way more than three) or one giant helium filled balloon to hold up the additional weight of the tassels. 

I tied the balloons to a mason jar to keep them from floating away and so I could position the balloons wherever I wanted.


Here's one last look at the drink station. If you missed my anniversary party sweet table post you can find it here. Check back later this week for the third and last post about this diy party.


BTW - you can grab the party printables here.