

Here's a unique diy wedding favor idea that is easy to create in an afternoon and one that you can personalize in so many ways. I used soy wax flakes and our small "love" mason jars to create these candle favors.
You can add colour to the wax to match your wedding colours or leave the wax white as I did. You can use one colour wax or layer several different colours together! It's easy to add a scent to the wax using concentrated fragrance oils. I wanted my favor to co-ordinate with a confetti theme, so I added coloured candy confetti to the wax after I poured it into the jar. The jar lid can be personalized with custom printed stickers. I also added a large paper flower to a gift tag and attached the tag to the mini mason jar using baker's twine.
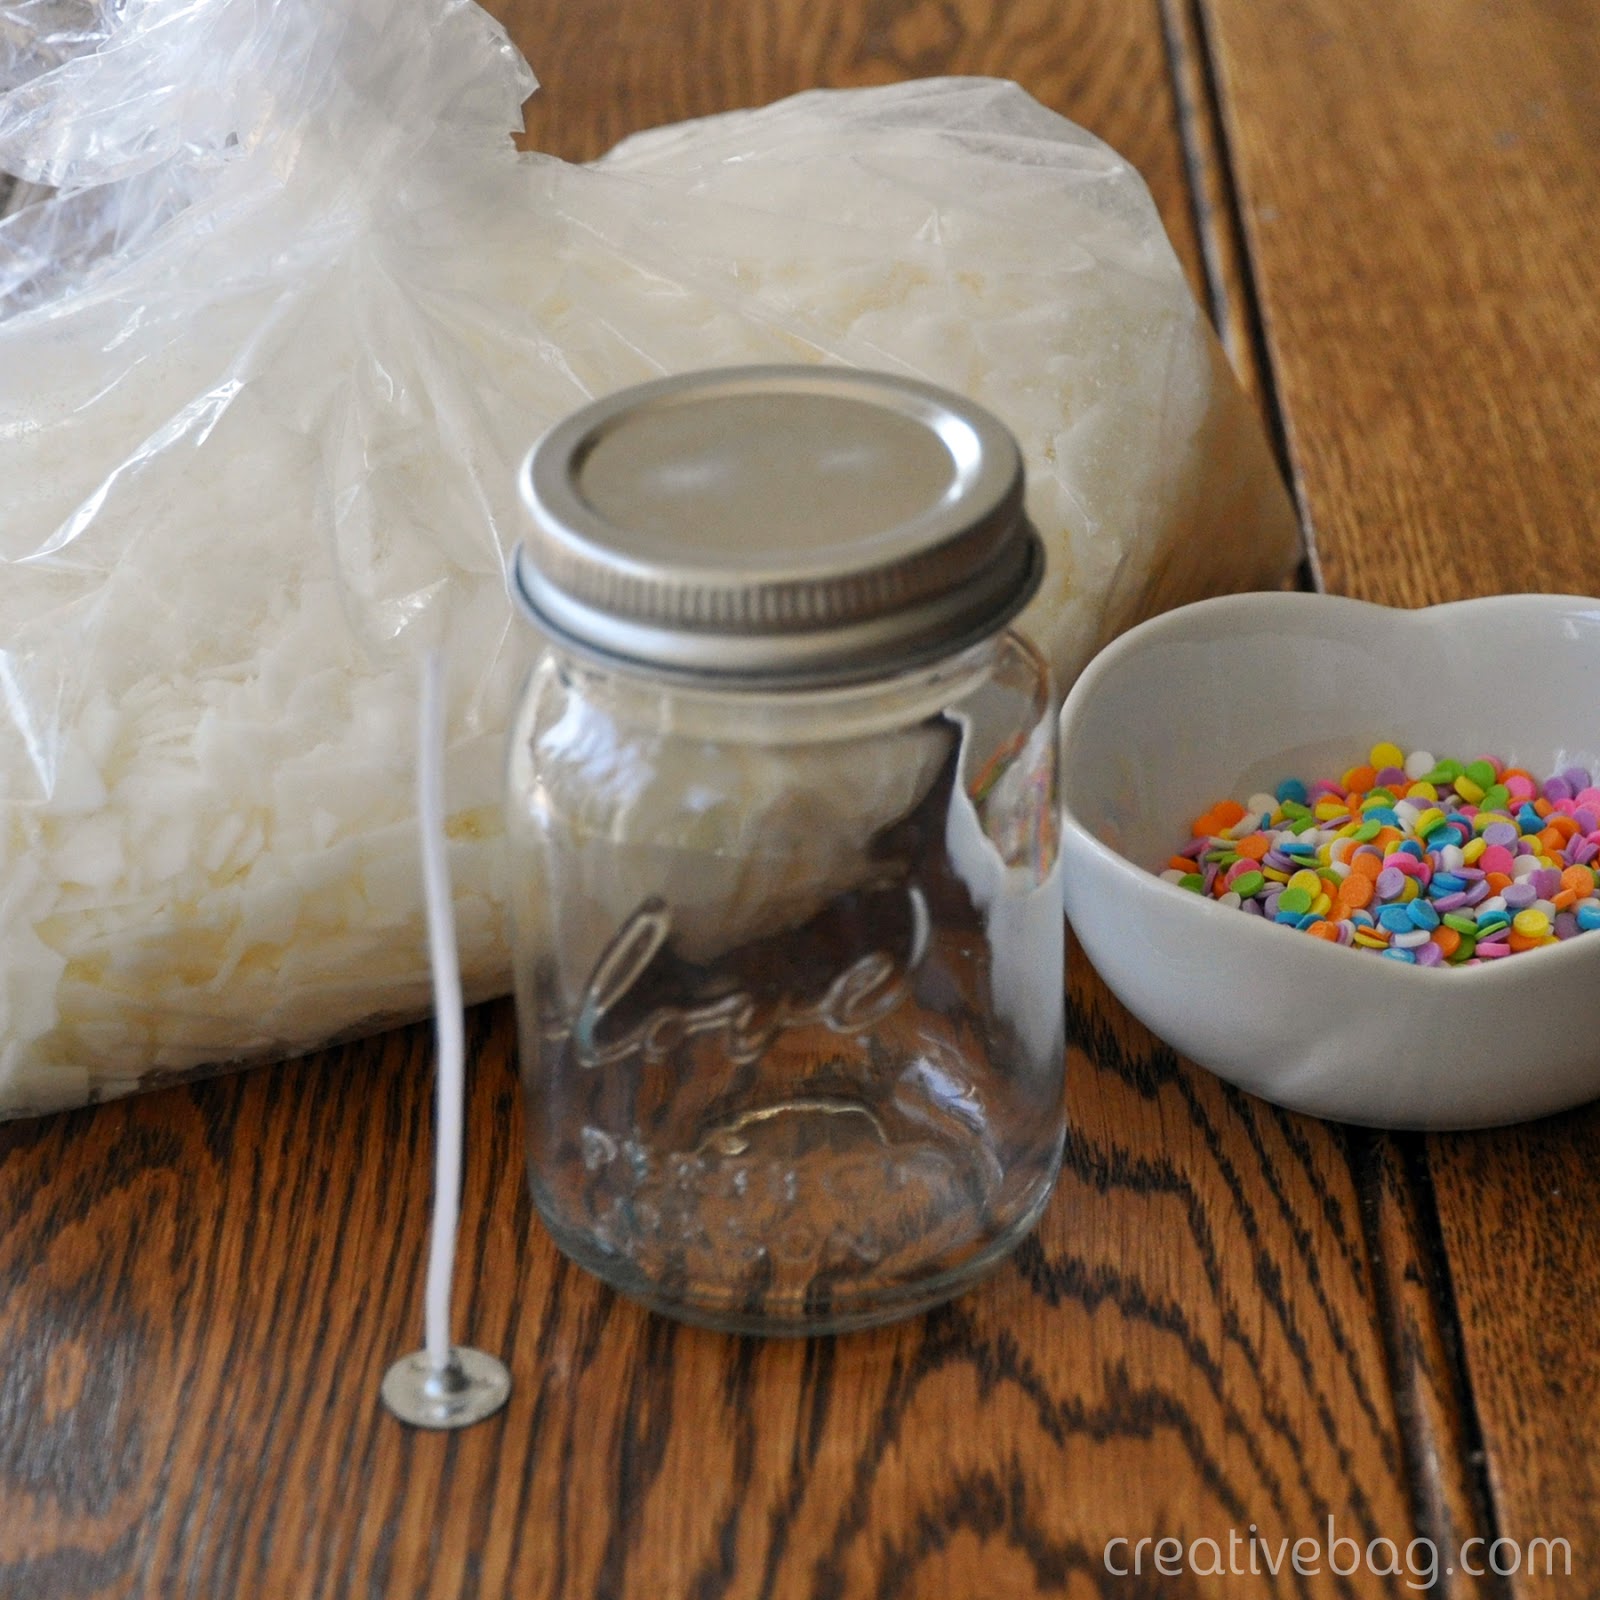
Here's what I used to create my candle favor: mini love mason jar, soy wax flakes, 2.5" candle wicks with tab, glue dot, chop sticks or similar, baker's twine, measuring cup or similar to melt wax in, medium saucepan (to use as double boiler), water, candy confetti.
Optional - essential oils for fragrance and/or wax dye. Follow instructions on packaging for these elements if you are going to add them to the wax.

1. I used a 2.5" standard candle wick with tab in this project because it was the perfect height for the jar. (Basically, I could not see the point in paying extra money for the 6" wicks when I knew I would be cutting the wick down to 2.5" at the end.) To keep the wick from falling over when you are adding the wax to the jar, simply place a glue dot on the bottom of the tab and adhere it to the bottom centre of the jar. To keep the wick straight, tie a piece of baker's twine to the top of the wick and wind the twine around a chop stick as shown above.
2. Melt your soy wax flakes according to the packaging instructions. I was only making one candle so I melted my wax in small quantities. I placed a small glass bowl with some soy wax flakes into a small saucepan of boiling water and left it to melt for about a minute before stirring. I would suggest using a small Pyrex measuring cup instead of a glass bowl to melt the wax if you have one - it's easier to pour the melted wax into the jar.
3. I poured the melted wax in layers into the mason jar so that the candy confetti did not all fall to the bottom of the jar. I waited for each layer to dry before pouring more wax into the jar.
4. Once the mason jar is as full as you would like, let the wax dry completely for a few hours before removing the baker's twine from the wick.

Decorate your jars as you would like using custom stickers and/or hang tags.


Chalkboard stickers and paper tags can also be decorated with custom stamps using ink or chalk markers. I showed you how to do that here with ink and here with chalk markers.


⋅No comments
Post a Comment