Showing posts with label glassware. Show all posts

Oh Hoppy Day ... A Sweet Idea for Easter Entertaining

Monday, 8 April 2019


Oh Hoppy Day ... Easter centrepiece inspiration | Creative Bag

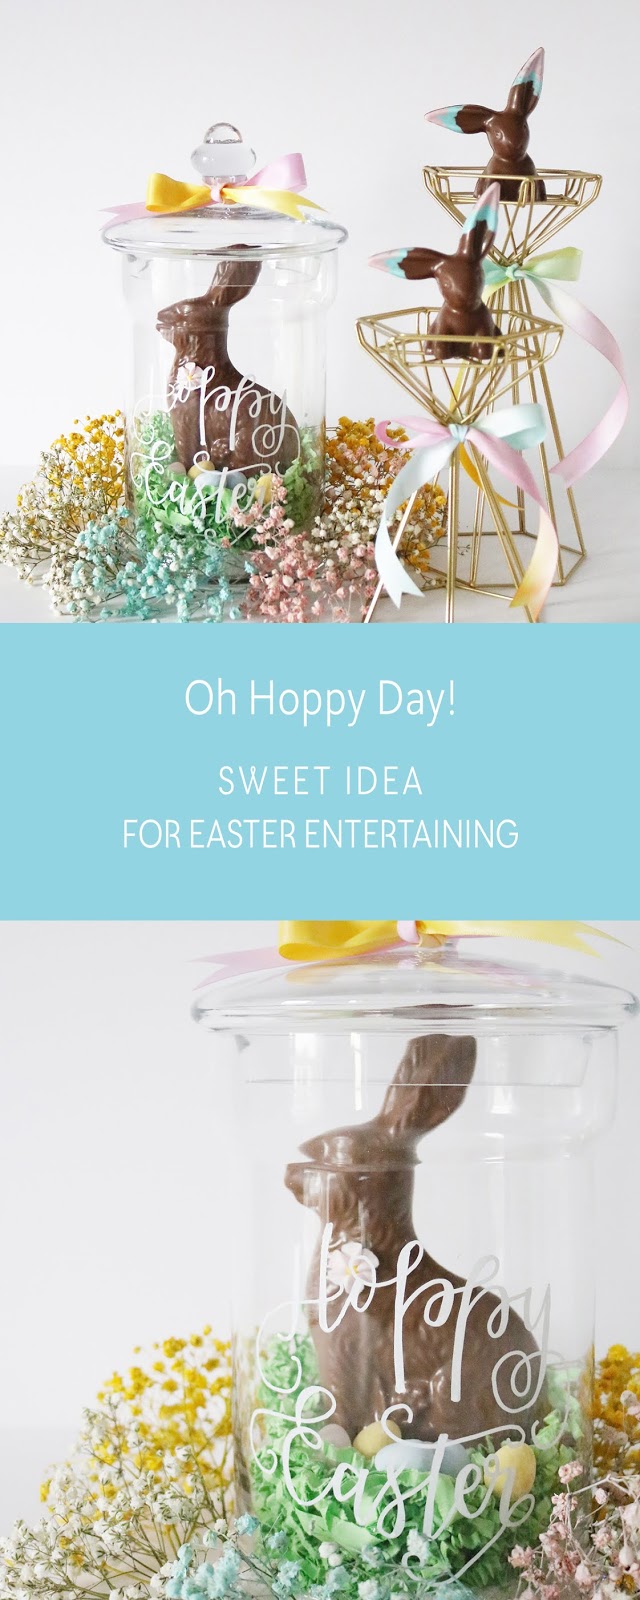
Here's a simple idea for a centrepiece that can be made well in advance of the Easter long weekend. Our glass jars with lids come in a variety of different sizes and can be used to display Easter chocolates, cookies or any other sweets that you wish. 

In this centrepiece, we've displayed a large chocolate bunny in a tall glass container and used gold geometric candle holders to display smaller chocolate bunnies.
  
Oh Hoppy Day ... Easter centrepiece inspiration | Creative Bag

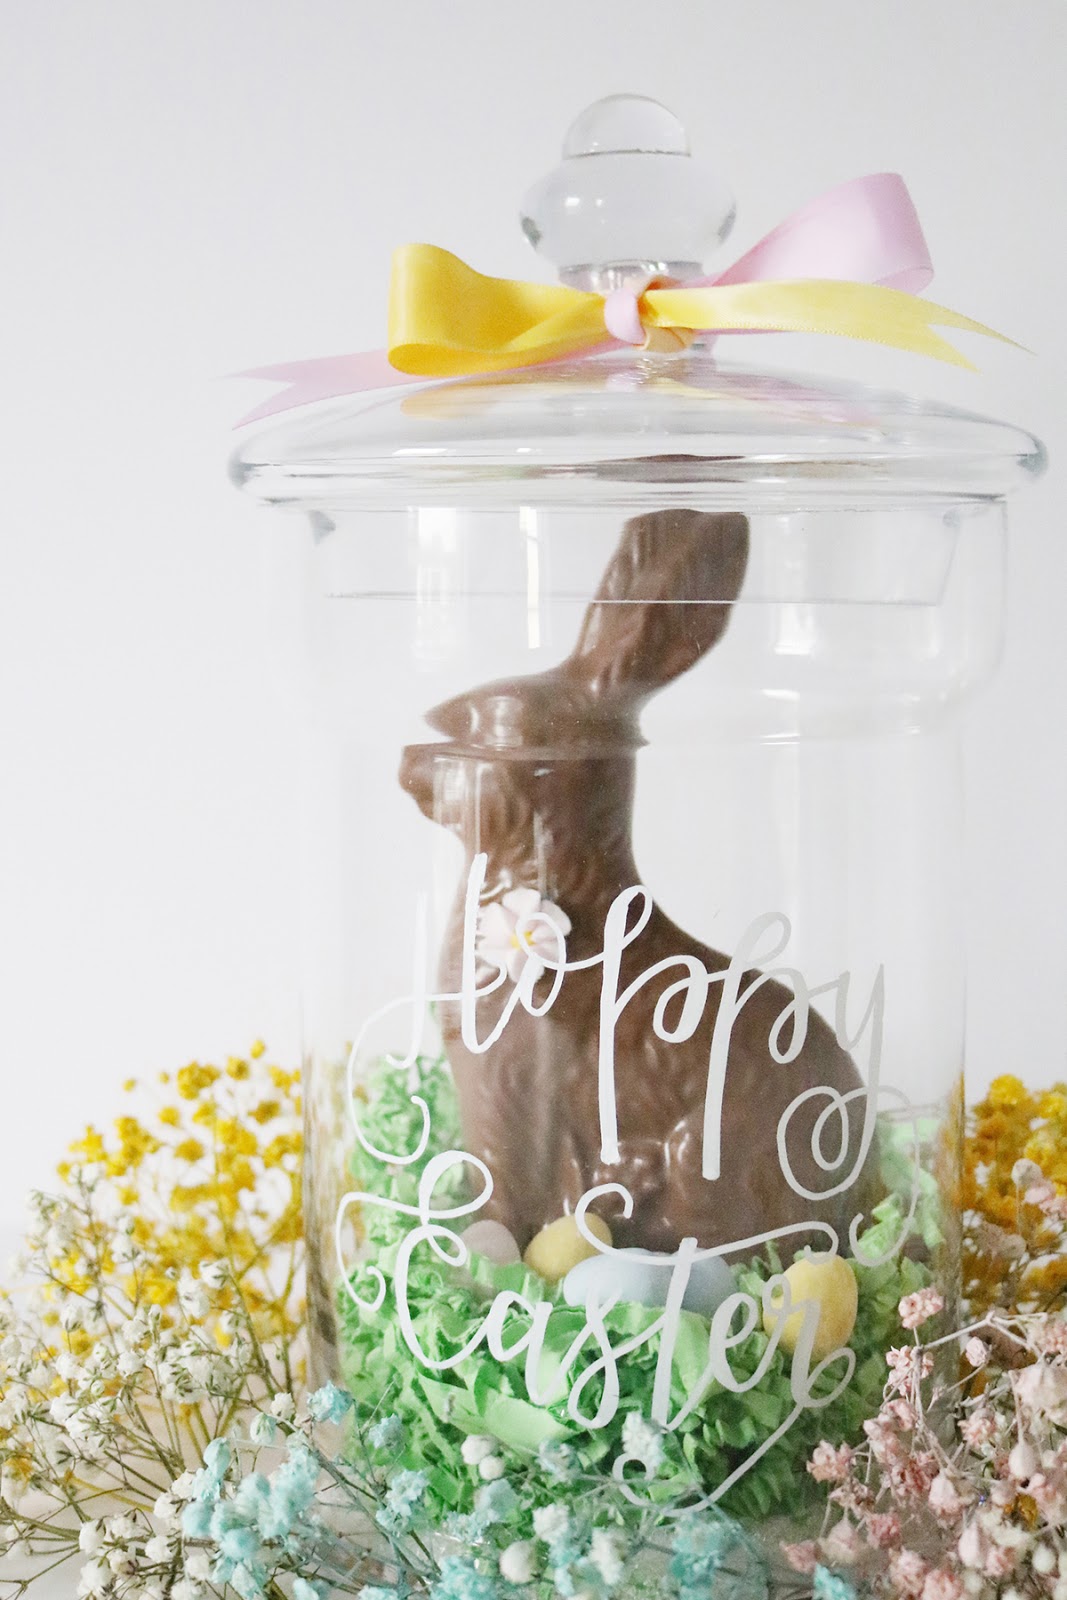
Course sugar and green sizzle was added to the bottom of the glass jar to hold the large chocolate bunny in place. Baby's breath was spray painted with pastel colours and placed around the base of the jar to create a wreath effect.

Oh Hoppy Day ... Easter centrepiece inspiration | Creative Bag


Oh Hoppy Day ... Easter centrepiece ideas

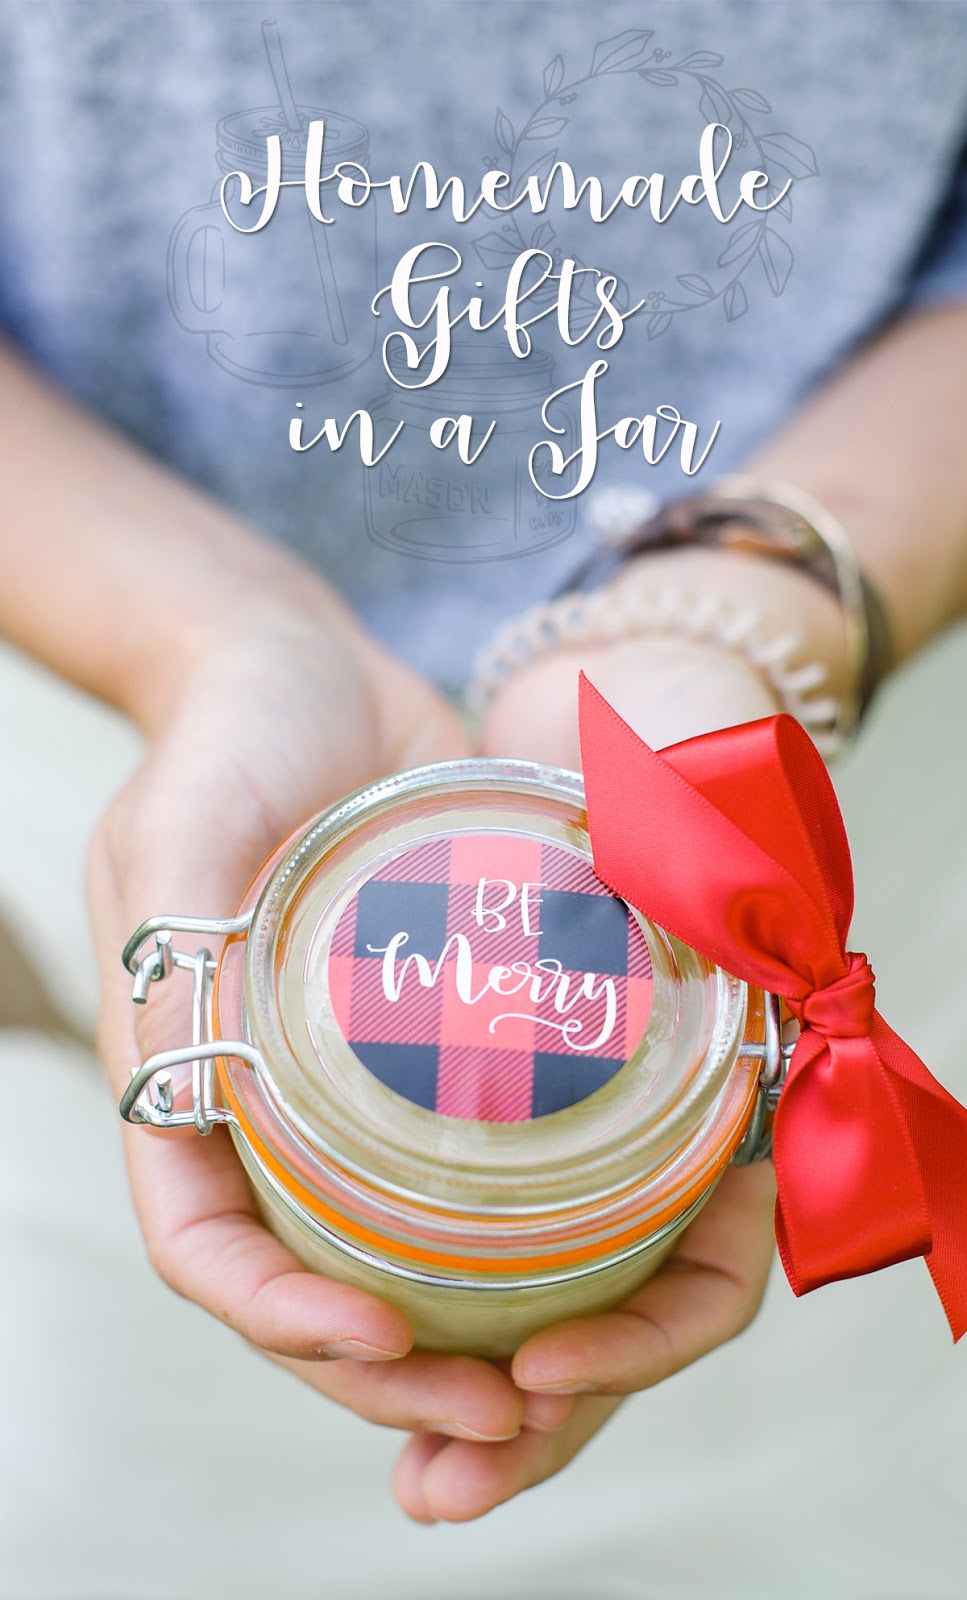
We added the "Hoppy Easter" lettering to the glass jar and you can do it too!

Here's how:


Oh Hoppy Day ... Easter download and DIY inspiration | Creative Bag

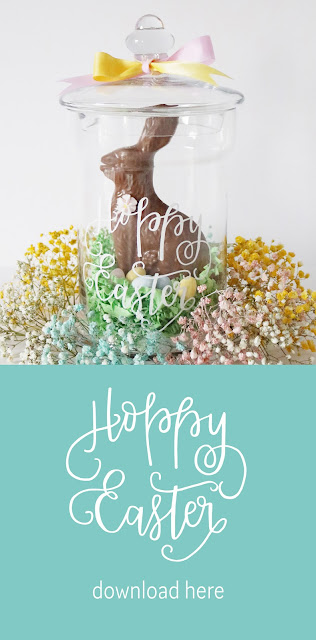
1. Download the lettering template and print it out size as is.

Oh Hoppy Day ... Easter centrepiece inspiration | Creative Bag

2. Cut out the lettering and position it inside the container as shown above. Use painter's tape to hold the paper in place. 

Oh Hoppy Day ... Easter centrepiece inspiration | Creative Bag

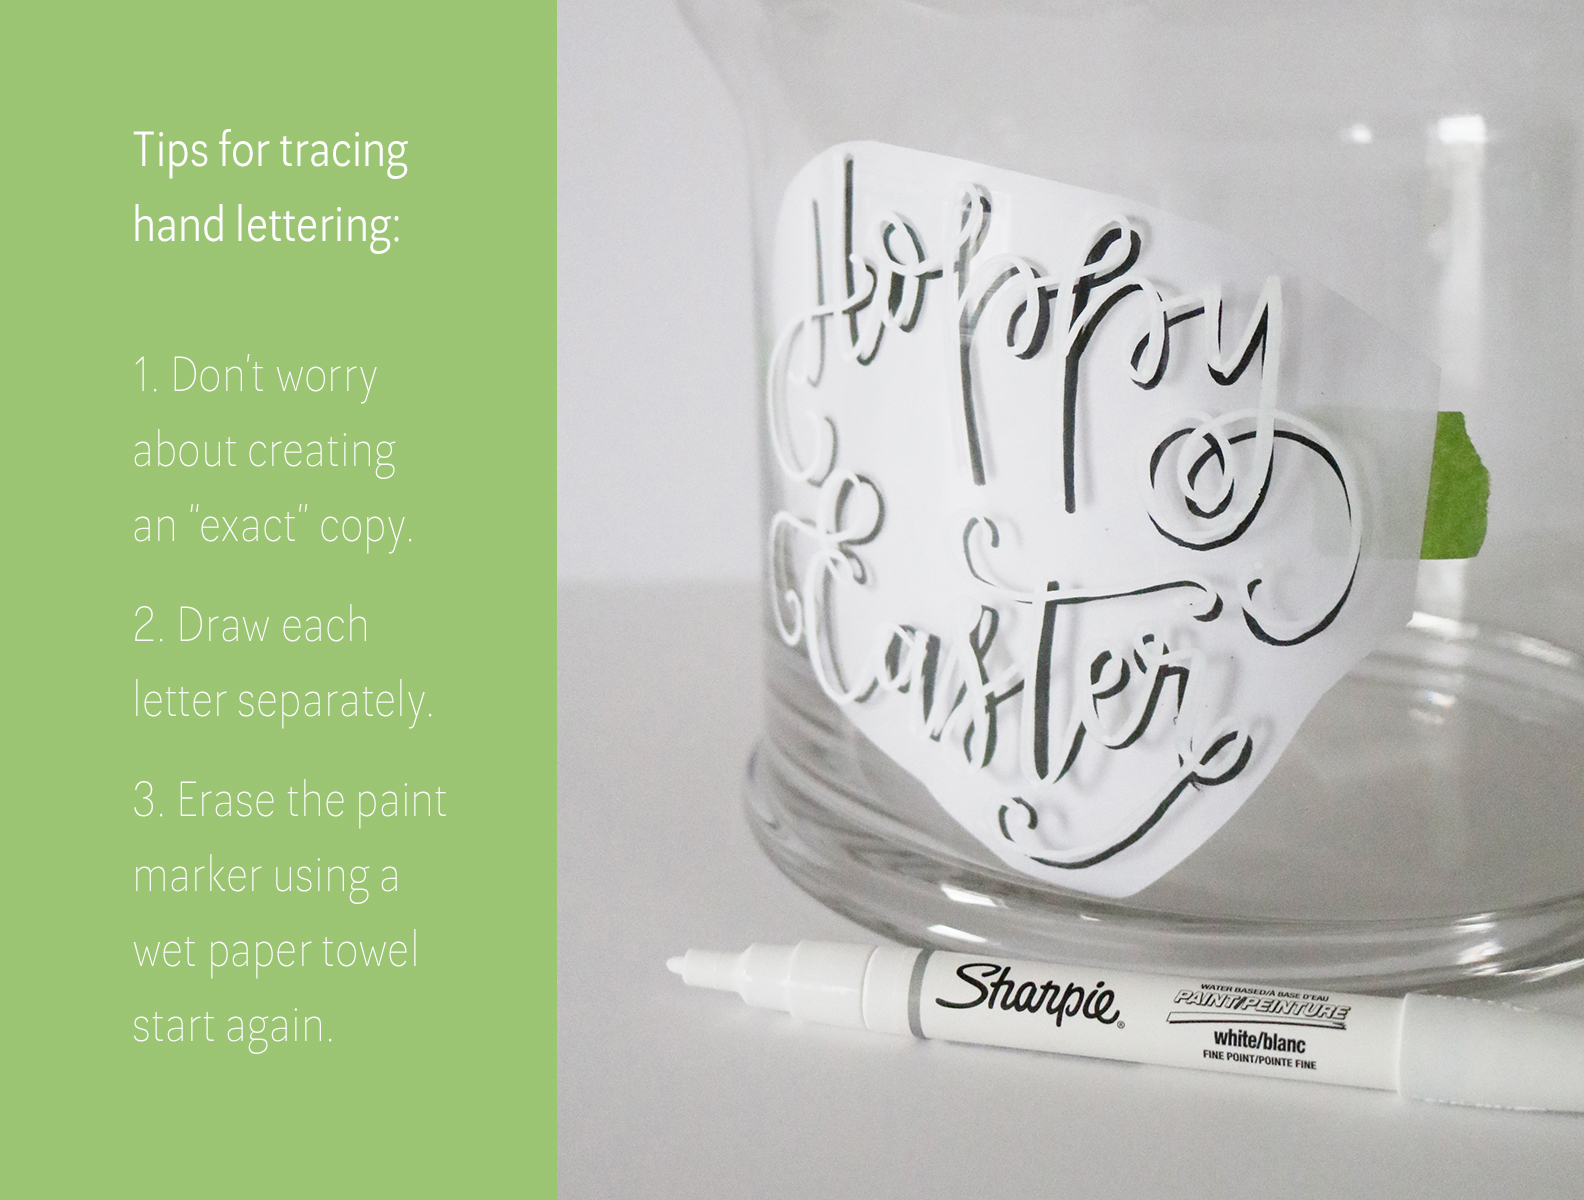
Using a white Sharpie water based paint marker, trace the lettering onto the outside of the glass. Don't worry about creating an exact copy of the lettering template. 

Once the faux hand lettering is dry, you can add the sugar, sizzle and bunny.

Oh Hoppy Day ... Easter centrepiece inspiration | Creative Bag


Oh Hoppy Day ... easter centrepiece inspiration | Creative Bag


Homemade Gifts in a Jar

Friday, 8 December 2017

homemade gifts in jars | creativebag.com

We collaborated with blogger Nicole from Simply Nic Nutrition to create a number of handmade holiday gift giving ideas. Nicole created all of the homemade gifts and packaged them using our glassware, ribbons, twine, holiday stickers and gift tags. 


Who doesn't like freshly baked cookies? Give the joy of baking with this Peanut Butter Chocolate Chip Oat Balls holiday gift jar. Nicole shares her recipe for the dry ingredients on her blog and the gift tag download contains the instructions for how to make the cookies. You can package the cookie mix in 16oz mason jars for this project but we liked the idea of using a mug. Did you know that we have custom printed mason jar mugs online?

homemade gifts in jars | creativebag.com
Featured Products: mason jar mug, baker's twine, moose & buffalo plaid stickers are available in store only. 


Nicole shares her simple recipe for making a healthy holiday jello using cranberry juice and gelatin. The jello was packaged in 4oz quilted crystal jars and decorated with stickers and burlap ribbon. We think that these would be perfect  for holiday entertaining and would look wonderful stack up for guests to serve themselves.

homemade gifts in jars | creativebag.com
Featured Products: mason jar mug, burlap ribbonmoose & buffalo plaid stickers are available in store only. 


Make your own apple cider using this recipe and package it in tall swing top glass bottles. These glass bottles make great single serving containers. Perfect for holiday entertaining, just add straws and let guests serve themselves.

homemade gifts in jars | creativebag.com
Featured Products: swing top glass bottle, twine, moose & buffalo plaid gift cards are available in store only. 


Gifts in a jar don't all have to be something edible. We love this peppermint hand salve holiday gift idea. Swing top jars or mason jars can be used to package the hand salve. 

homemade gifts in jars | creativebag.com
Featured Products: large swing top glass containers and moose & buffalo plaid stickers are available in store only, satin ribbon.


Nicole is a Registered Holistic Nutritionist who blogs about recipes, food information and
inspiration that is simple and wholesome. You can find all of the recipes for these projects and more on the Simply Nic Nutrition blog. 

Special thanks to Heidi Lau Photography for all the the photos in this post.


homemade gifts in jars | creativebag.com


you can do it yourself - throw an anniversary party (part 2 of 3)

Monday, 20 July 2015


drink station at anniversary party by Lorrie Everitt for Creative Bag

This is part two of my diy anniversary party and today is all about the drink station.

I think that you should be able to enjoy your party so unless you plan hire someone to tend bar, a self serve drink station is my favourite way to go. 

drink station at anniversary party by Lorrie Everitt for Creative Bag

I created this blackboard sign and hung it above the drink station so that everyone would know it was a self serve bar. I glued the same ribbon I used on the sweet table to the frame.

 The art to recreate the sign is included in the printables you can download for free in my last post. You may recognize this blackboard sign from another party set up.

drink station at anniversary party by Lorrie Everitt for Creative Bag

Signature drinks are a nice way to personalize your drink station. I created the signature drink signs on larger blackboard signs on sticks.

More gold spray painted mason jars spray were added to the set up to display paper straws and succulents. I used the birch paper straws to decorate the cake pops on the sweet table so it made sense to use them again at the drink station. Another decorative detail from the sweet table set up that I incorporated into the drink set up is the use of rustic wood slabs.

Lorrie's tip: Don't set up complicated signature drinks at a self serve bar. Make it something personal that is easy for guests to mix themselves.

drink station at anniversary party by Lorrie Everitt for Creative Bag

We have an assortment of mason jar mugs with a metallic finish daisy lid and plastic straw in select stores (until quantities last). I tied gift tags from my party printables to two of the metallic mugs to add to the signature drink theme.

drink station at anniversary party by Lorrie Everitt for Creative Bag

I filled one of our drink dispensers with lemonade and placed it on top of a stack of books that I covered with wrapping paper book jackets. I placed a bowl under the spout to prevent lemonade spills on the burlap table runner and furniture.

Lorrie's tip: The lemonade chalkboard sign was attached to the ribbon on the drink dispenser using magnets. I glued a magnet on the back of the chalkboard sign and used a second magnet behind the ribbon to keep the sign in place.

drink station at anniversary party by Lorrie Everitt for Creative Bag

Our mason jar mugs are perfect for parties and they make great favors. Guests take them home and you don't have dirty dishes to wash in the morning - bonus!

We will have marquee letter signs arriving soon. Marquee signs are a great way to light up a drink station at night.

drink station at anniversary party by Lorrie Everitt for Creative Bag

Here's a closer look at the mason jar mugs. I added blackboard sticker labels for the guys and added their names using a chalk marker. For the girls I added gold glitter letter stickers to co-ordinate with my black, white & gold colour theme.

The chalkboard sign lets guests know that they can keep the glasses and reminds them that they can serve themselves!

drink station at anniversary party by Lorrie Everitt for Creative Bag

I also set up a small snack table beside the drink station with peanuts, pretzels and popcorn.

drink station at anniversary party by Lorrie Everitt for Creative Bag

drink station at anniversary party by Lorrie Everitt for Creative Bag

Square glass containers were filled with snack foods. Ribbon decorated the glass containers and small chalkboard signs with clothespins helped identify food for people with allergies. Our new line of party food containers are the perfect size for guests to fill (and refill) with snacks.

Above are some more close ups of the gold spray painted mason jars. I added this gold sparkle cake topper to the succulent floral arrangement.

Lorrie's tip: If you have room to serve lemon and lime slices to your drink bar use additional   square glass containers to display them.

drink station at anniversary party by Lorrie Everitt for Creative Bag

I hung an ornate vintage inspired frame and filled it with black and white photos. After the party you can use the frame as it is or as a way to display whatever you want.

Lorrie's tip: Convert all of your photos to black and white to co-ordinate with the colour theme. I considered spray painting the frame gold as well to work with the party colour theme but ended up leaving it white to match my home decor for after the party. 


I added black and white balloons filled with helium to the drink station. The gold mylar tassel is from this tassel kit . If you want to add a long strand of tassels to the balloons you need to have lots of small balloons (way more than three) or one giant helium filled balloon to hold up the additional weight of the tassels. 

I tied the balloons to a mason jar to keep them from floating away and so I could position the balloons wherever I wanted.


Here's one last look at the drink station. If you missed my anniversary party sweet table post you can find it here. Check back later this week for the third and last post about this diy party.


BTW - you can grab the party printables here.


pretty gift packaging for your bridesmaids

Friday, 26 June 2015

pretty gift packaging for your bridemaids | Creative Bag

David Tutera's mini milk glass bottles with cork tops have been a popular item this year for packaging wedding and party favors. Today I'm going to share with you an idea for using these mini bottles to package earrings for your bridesmaids. I've seen so many adorable handmade earrings on Etsy for bridesmaids and I thought that it would be nice to gift wrap them in a unique way to co-ordinate with your wedding theme. 

pretty gift packaging for your bridemaids | Creative Bag

I purchased the smallest screw eyes that I could find at the hardware store and screwed two of them into the cork top as shown above. All you have to do is attach the earrings and place the lid on the bottle. Pretty easy - right? 

Of course, this packaging idea will not work with stuns or earrings that are very long or really wide so make sure your earrings will fit inside the bottle before going on to the next step.

I selected four different wedding themes and decorated the bottles to co-ordinate.

pretty gift packaging for your bridemaids | Creative Bag

For a boho inspired wedding - what could be prettier than lace ribbon, a mini gift tag and gold spray painted bottles? I used Krylon's 18kt gold plate spray paint on this bottle. 

Note: use painter's tape to protect the area of glass you don't want to paint and remove the tape immediately after spraying so that the paint does not dry on the tape.

pretty gift packaging for your bridemaids | Creative Bag

Put a little sparkle to your gift packaging by adding craft glitter. Use baker's twine to add the metal rimmed tag to the bottle.

pretty gift packaging for your bridemaids | Creative Bag

Mini terrariums are so popular right now and if you have included a lot of natural elements to your wedding this gift packaging idea may be perfect for you. I added a little bit of moss to the bottom of this bottle to look like a terrarium. I painted a mini white gift tag with watercolour paint and attached it to the bottle using a wired ribbon

pretty gift packaging for your bridemaids | Creative Bag

Here's a cute idea for a destination wedding - the earrings where made using old maps and I added tiny heart candies to this bottle. A mini kraft tag in the shape of a luggage tag is attached to the bottle using natural twine. 

For a destination wedding on the beach, you could use sand, sea glass or mini shells instead of heart candies.

gold spray painted glassware | Creative Bag

I've been experimenting with the Krylon gold spray paints on some of our other glass containers. Here's a sneak peek at some of my favourites ... so far.


diy candle favors using our love-ly mini mason jars

Tuesday, 24 March 2015


diy candle favors | Creative Bag

Here's a unique diy wedding favor idea that is easy to create in an afternoon and one that you can personalize in so many ways. I used soy wax flakes and our small "love" mason jars to create these candle favors. 

You can add colour to the wax to match your wedding colours or leave the wax white as I did. You can use one colour wax or layer several different colours together! It's easy to add a scent to the wax using concentrated fragrance oils.  I wanted my favor to co-ordinate with a confetti theme, so I added coloured candy confetti to the wax after I poured it into the jar. The jar lid can be personalized with custom printed stickers. I also added a large paper flower to a gift tag and attached the tag to the mini mason jar using baker's twine.

diy candle favors | Creative Bag

Here's what I used to create my candle favor: mini love mason jar, soy wax flakes, 2.5" candle wicks with tab, glue dot, chop sticks or similar, baker's twine, measuring cup or similar to melt wax in, medium saucepan (to use as double boiler), water, candy confetti.

Optional - essential oils for fragrance and/or wax dye. Follow instructions on packaging for these elements if you are going to add them to the wax.

diy candle favors | Creative Bag

1. I used a 2.5" standard candle wick with tab in this project because it was the perfect height for the jar. (Basically, I could not see the point in paying extra money for the 6" wicks when I knew I would be cutting the wick down to 2.5" at the end.) To keep the wick from falling over when you are adding the wax to the jar, simply place a glue dot on the bottom of the tab and adhere it to the bottom centre of the jar. To keep the wick straight, tie a piece of baker's twine to the top of the wick and wind the twine around a chop stick as shown above.

2. Melt your soy wax flakes according to the packaging instructions. I was only making one candle so I melted my wax in small quantities. I placed a small glass bowl with some soy wax flakes into a small saucepan of boiling water and left it to melt for about a minute before stirring. I would suggest using a small Pyrex measuring cup instead of a glass bowl to melt the wax if you have one - it's easier to pour the melted wax into the jar.

3. I poured the melted wax in layers into the mason jar so that the candy confetti did not all fall to the bottom of the jar. I waited for each layer to dry before pouring more wax into the jar.

4. Once the mason jar is as full as you would like, let the wax dry completely for a few hours before removing the baker's twine from the wick.

diy candle favors | Creative Bag

Decorate your jars as you would like using custom stickers and/or hang tags.

diy candle favors | Creative Bag

diy candle favors | Creative Bag

Chalkboard stickers and paper tags can also be decorated with custom stamps using ink or chalk markers. I showed you how to do that here with ink and here with chalk markers.


sweet packaging ideas for the ones you love

Monday, 26 January 2015

bakery packaging for valentine's day | Creative Bag

Today I'm going to share a couple of ideas for packaging baked goods for Valentine's day. 

We think that you will love our new single cake pop boxes and small bakery window boxes. The scalloped edges are adorable and the clear windows allow you to show off the yummy treats inside.These boxes are available in both kraft and white.


diy for valentine's day - add glitter hearts to mason jar mugs ... dishwasher safe after 28 days | Creative Bag

Here's a little diy inspiration using our mason jar mugs ... add a gold glitter heart! These are adorable for Valentine's Day but they would also make sweet favors for a wedding, shower or party.

You can find my complete instructions for adding glitter to glass so that it is dishwasher safe in this post

Note: You will need 28 days for the glitter to cure before it is dishwasher safe, so if you make these for a Valentine's Day gift add a note card with a date stamp to let your loved ones know when they can be used.