Showing posts with label easterdownload. Show all posts

Sweet idea for Easter - Some Bunny Loves You

Thursday, 11 April 2019

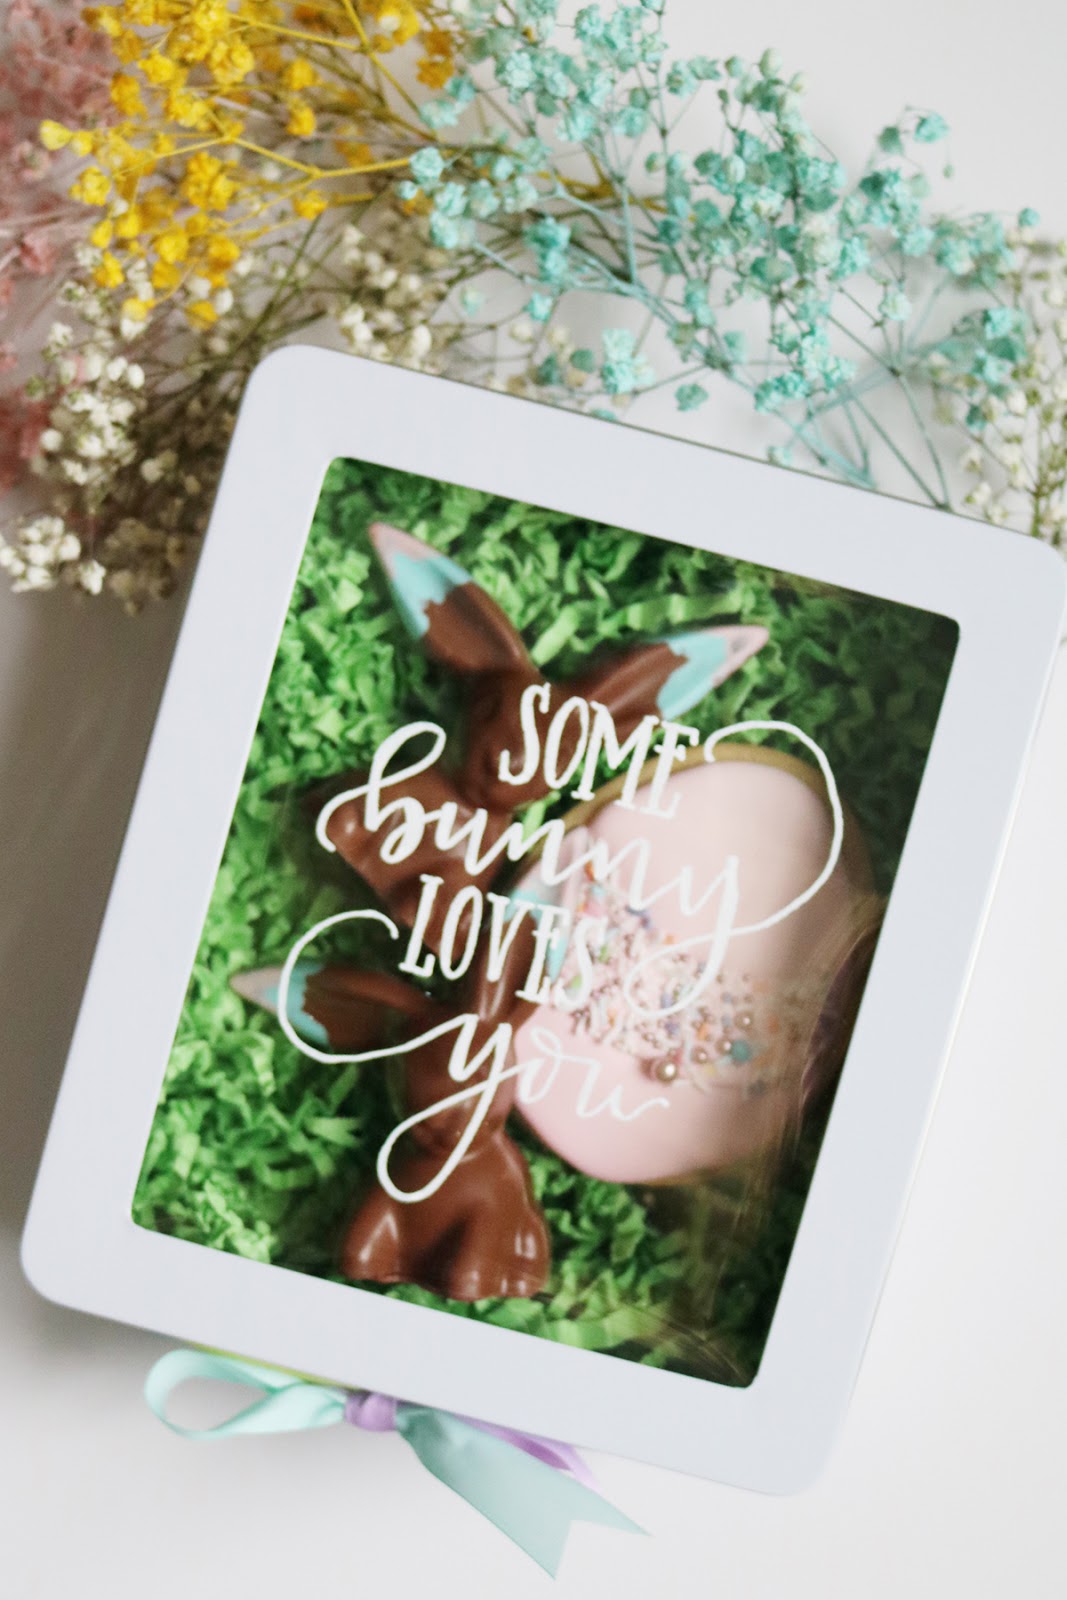
sweet DIY idea for Easter - some bunny loves you tin container | Creative Bag

One more idea for Easter gift packaging using our popular tin containers.

sweet DIY idea for Easter - some bunny loves you tin container | Creative Bag

The window lid on this 8" x 6.75" x 3" tin box is perfect for showcasing artisan made sweets inside.


sweet DIY idea for Easter - some bunny loves you tin container | Creative Bag

We added bright green sizzle to the box to keep the chocolates and cookies in place.

sweet DIY idea for Easter - some bunny loves you tin container | Creative Bag

The hand lettering details were added to the tin box window using a white Sharpie paint marker. You can recreate the hand lettering yourself using the template in the download below. All of the instruction for creating the faux hand lettering are included in the download and you can see photos of how we added faux lettering to similar Easter projects here and here.

sweet DIY idea for Easter - some bunny loves you free printable | Creative Bag

We also added a watercolour satin ribbon to the tin box. The ribbon is actually our white single face satin ribbon that was painted with watercolour paints. You can find the diy instructions for painting the ribbon in this blog post. 

sweet DIY idea for Easter - some bunny loves you tin container | Creative Bag

If you use our products in your Easter packaging or decor, we'd love to see what you create. Tag us on Instagram with @creativebagco and use the hashtag #creativebaginspire.

Hoppy Easter!


Thanks to our Easter blog post collaborators:

Christy's Gourmet Gifts
Flower Treasures
Alicia's Infinity


sweet DIY idea for Easter - some bunny loves you tin container | Creative Bag


Oh Hoppy Day ... A Sweet Idea for Easter Entertaining

Monday, 8 April 2019


Oh Hoppy Day ... Easter centrepiece inspiration | Creative Bag

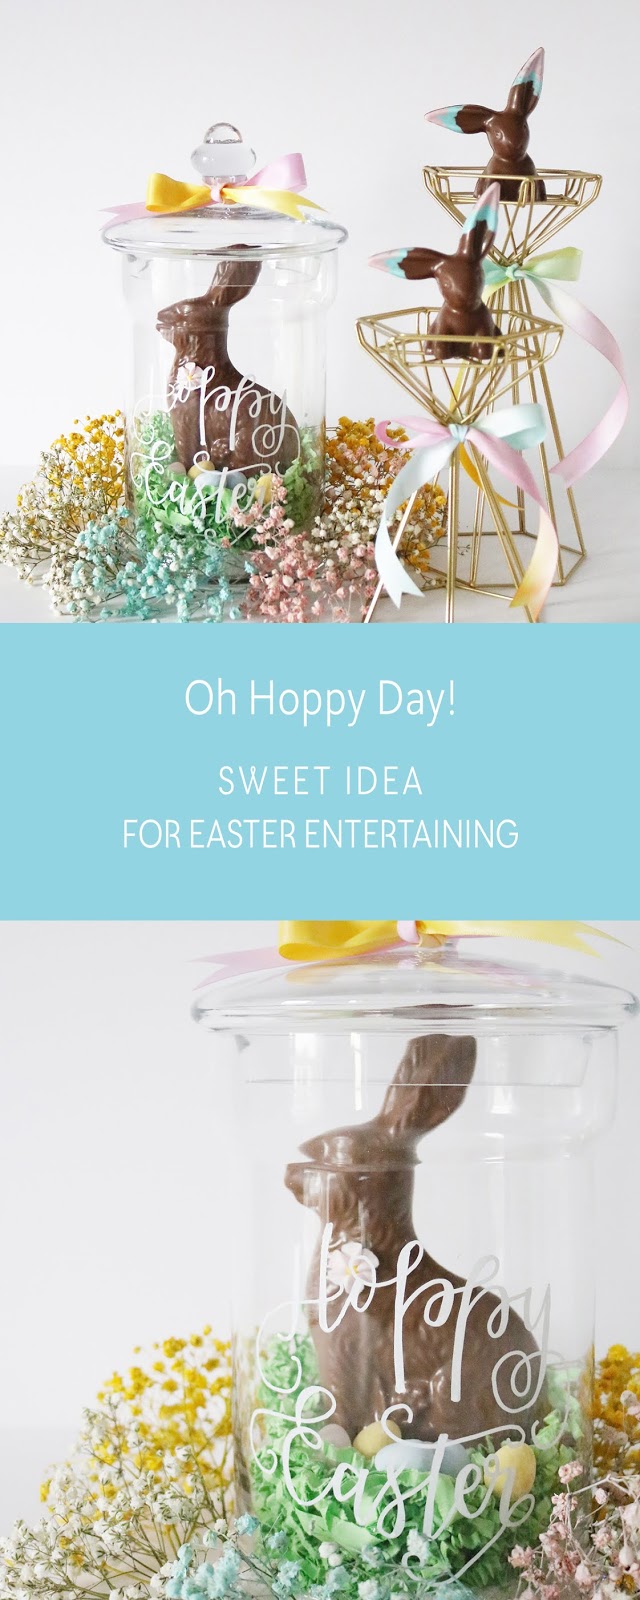
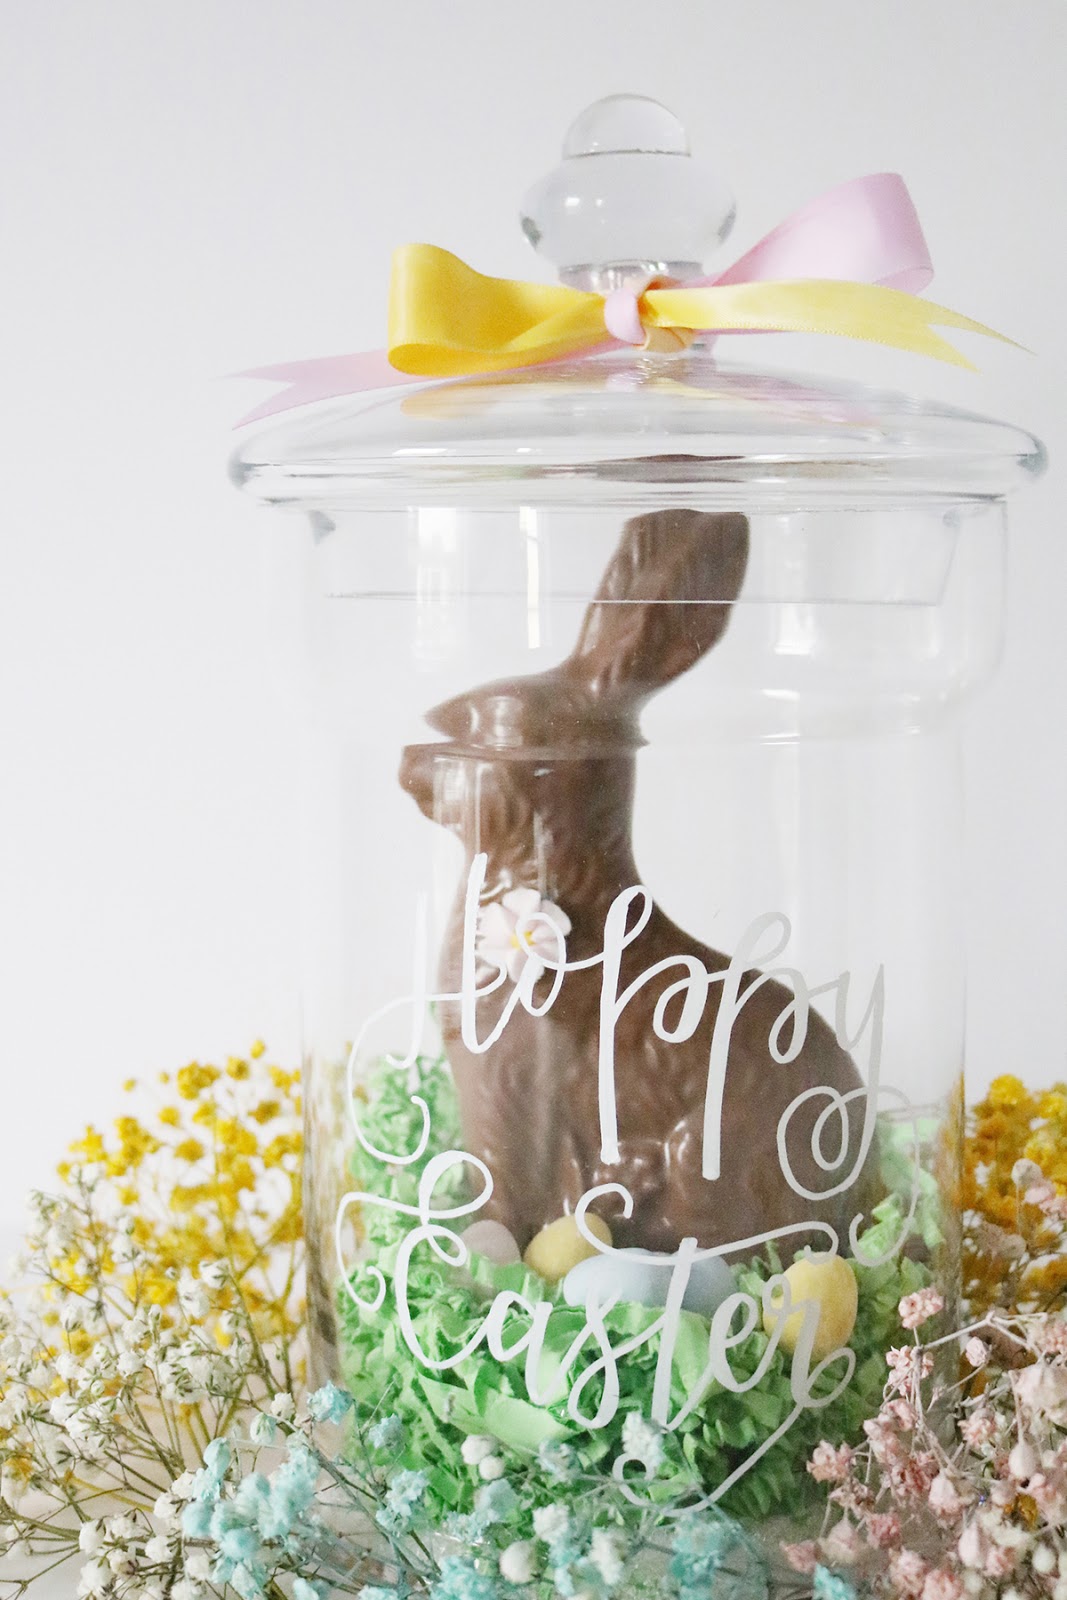
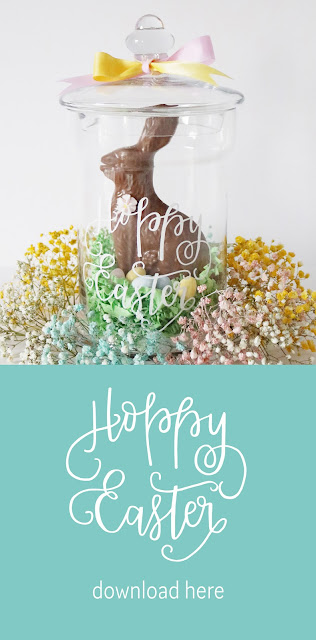
Here's a simple idea for a centrepiece that can be made well in advance of the Easter long weekend. Our glass jars with lids come in a variety of different sizes and can be used to display Easter chocolates, cookies or any other sweets that you wish. 

In this centrepiece, we've displayed a large chocolate bunny in a tall glass container and used gold geometric candle holders to display smaller chocolate bunnies.
  
Oh Hoppy Day ... Easter centrepiece inspiration | Creative Bag

Course sugar and green sizzle was added to the bottom of the glass jar to hold the large chocolate bunny in place. Baby's breath was spray painted with pastel colours and placed around the base of the jar to create a wreath effect.

Oh Hoppy Day ... Easter centrepiece inspiration | Creative Bag


Oh Hoppy Day ... Easter centrepiece ideas

We added the "Hoppy Easter" lettering to the glass jar and you can do it too!

Here's how:


Oh Hoppy Day ... Easter download and DIY inspiration | Creative Bag

1. Download the lettering template and print it out size as is.

Oh Hoppy Day ... Easter centrepiece inspiration | Creative Bag

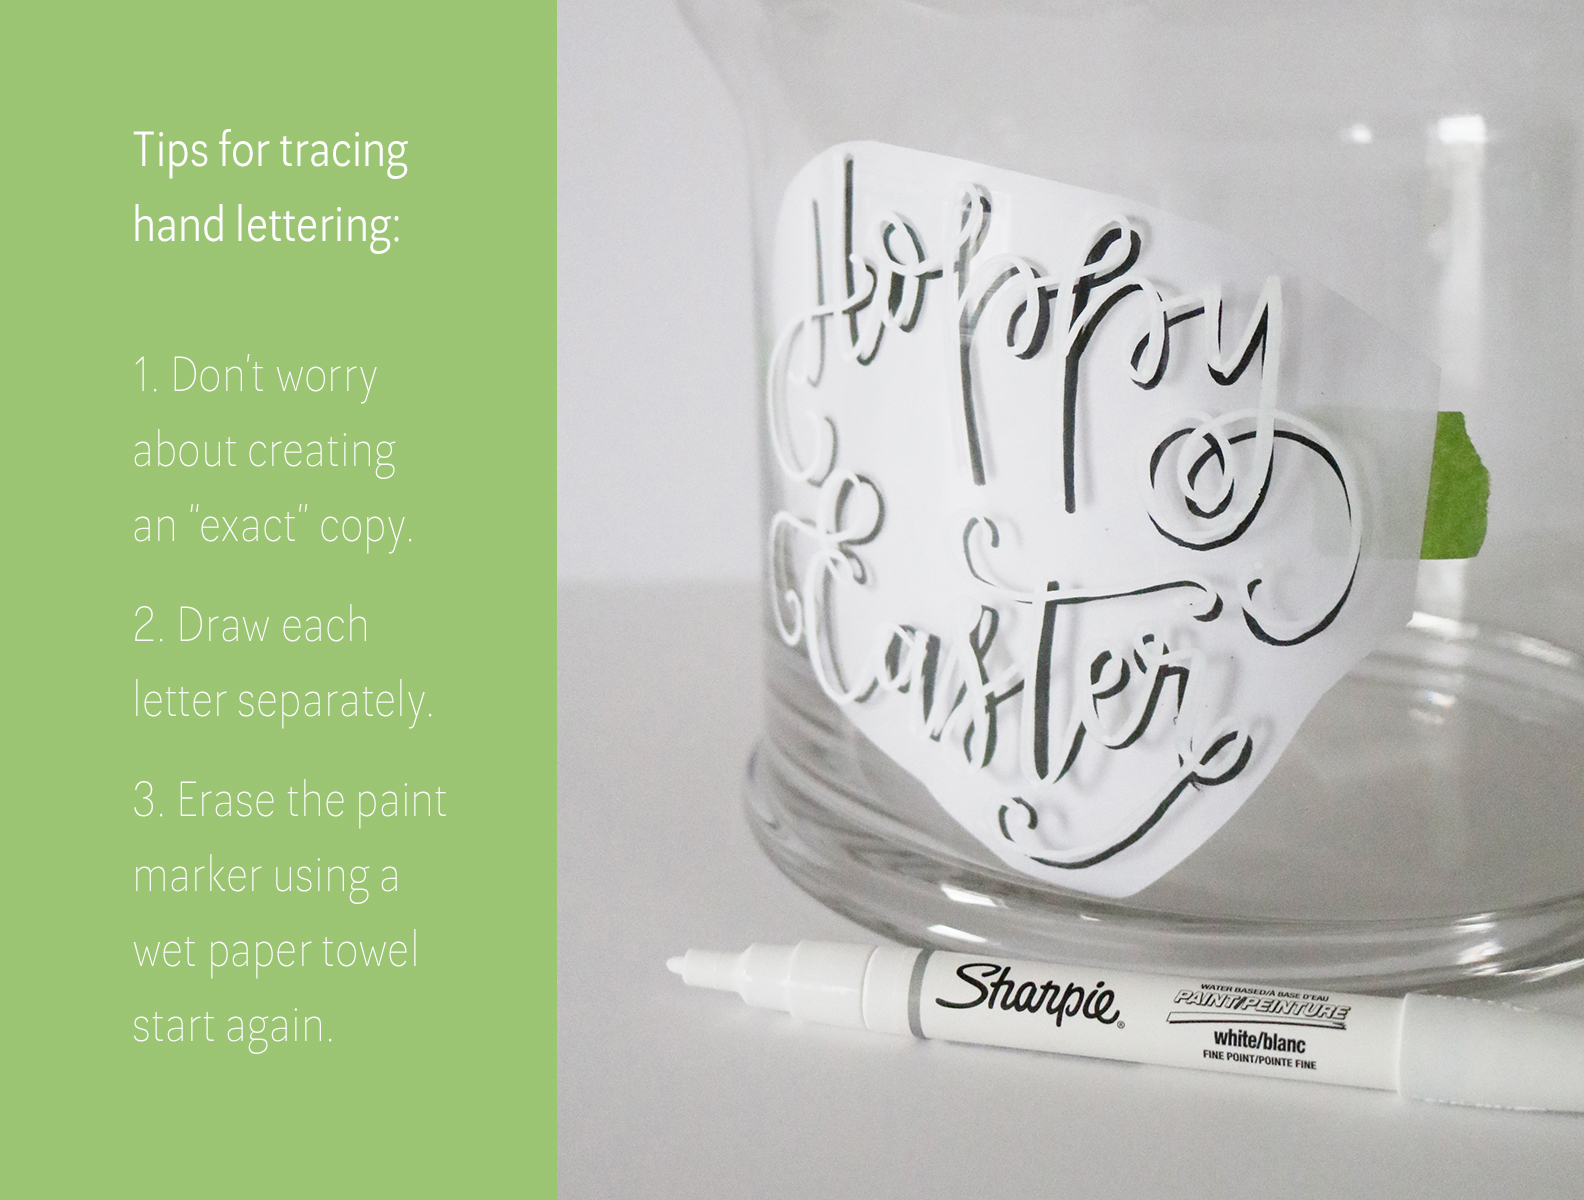
2. Cut out the lettering and position it inside the container as shown above. Use painter's tape to hold the paper in place. 

Oh Hoppy Day ... Easter centrepiece inspiration | Creative Bag

Using a white Sharpie water based paint marker, trace the lettering onto the outside of the glass. Don't worry about creating an exact copy of the lettering template. 

Once the faux hand lettering is dry, you can add the sugar, sizzle and bunny.

Oh Hoppy Day ... Easter centrepiece inspiration | Creative Bag


Oh Hoppy Day ... easter centrepiece inspiration | Creative Bag


Oh hoppy day! Sweet hostess gift wrapping inspiration.

Thursday, 4 April 2019

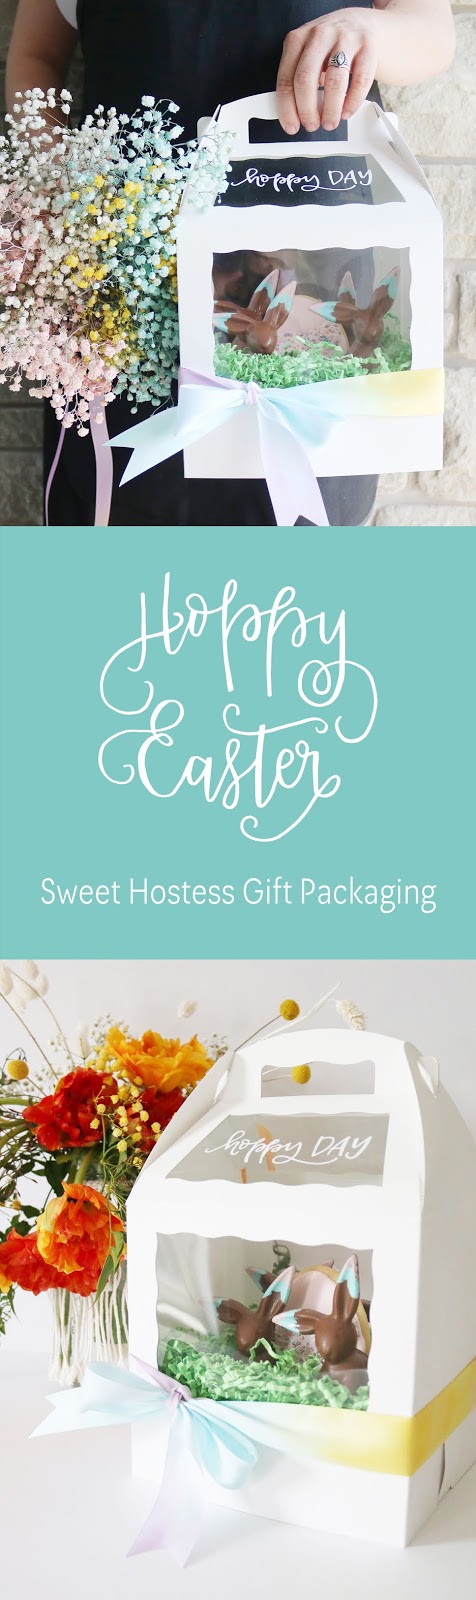
Oh hoppy day! Sweet hostess gift wrapping inspiration using cake pop boxes and hand lettering | Creative Bag

Looking for a fun way to package chocolates and baked goods as hostess gifts? Check out our cake pop boxes! They're not just for cake pops.

Oh hoppy day! Sweet hostess gift wrapping inspiration using cake pop boxes and hand lettering | Creative Bag

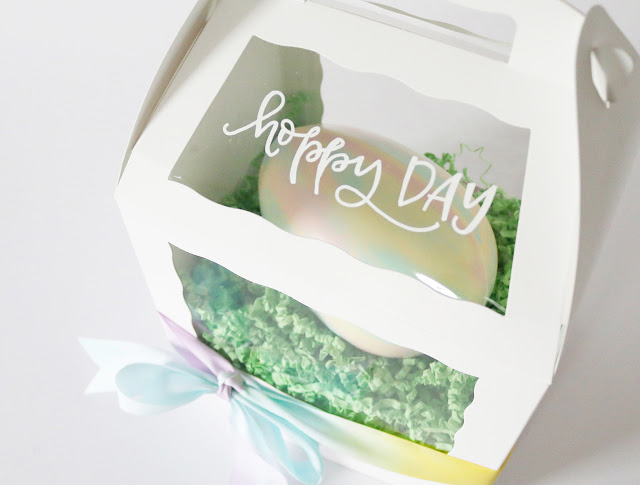
We simply added an Easter message to the box by adding "faux" hand lettering using a Sharpie paint marker. The ribbon is actually our plain white 1 1/2" satin ribbon that was coloured using watercolour paints.

Oh hoppy day! Sweet hostess gift wrapping inspiration using cake pop boxes and hand lettering | Creative Bag

Keep reading for the DIY instructions for adding hand lettering to the window of this box.

Oh hoppy day! Sweet hostess gift wrapping inspiration using cake pop boxes and hand lettering | Creative Bag

We added small chocolate bunnies and cookies from Christy's Gourmet Gifts to this cake pop box as a hostess gift idea. Green sizzle was added to the inside of the box to keep the chocolates and cookies in place and to add a pop of colour to the presentation.

Oh hoppy day! Sweet hostess gift wrapping inspiration using cake pop boxes and hand lettering | Creative Bag

Flower Treasures spray painted baby's breath in colours to match the watercolour ribbon.

Oh hoppy day! Sweet hostess gift wrapping inspiration using cake pop boxes and hand lettering | Creative Bag

The cake pop box also makes a great container to carry large chocolate Easter eggs. The sizzle keeps the egg from rolling around and covers the holes in the cake pop base.


Oh hoppy day! Sweet hostess gift wrapping inspiration using cake pop boxes and hand lettering | Creative Bag

Note: The cake pop box is sold in two parts. The lid makes it easier to transport cake pops on the base and is sold as an add on. Both are available in white and kraft. 


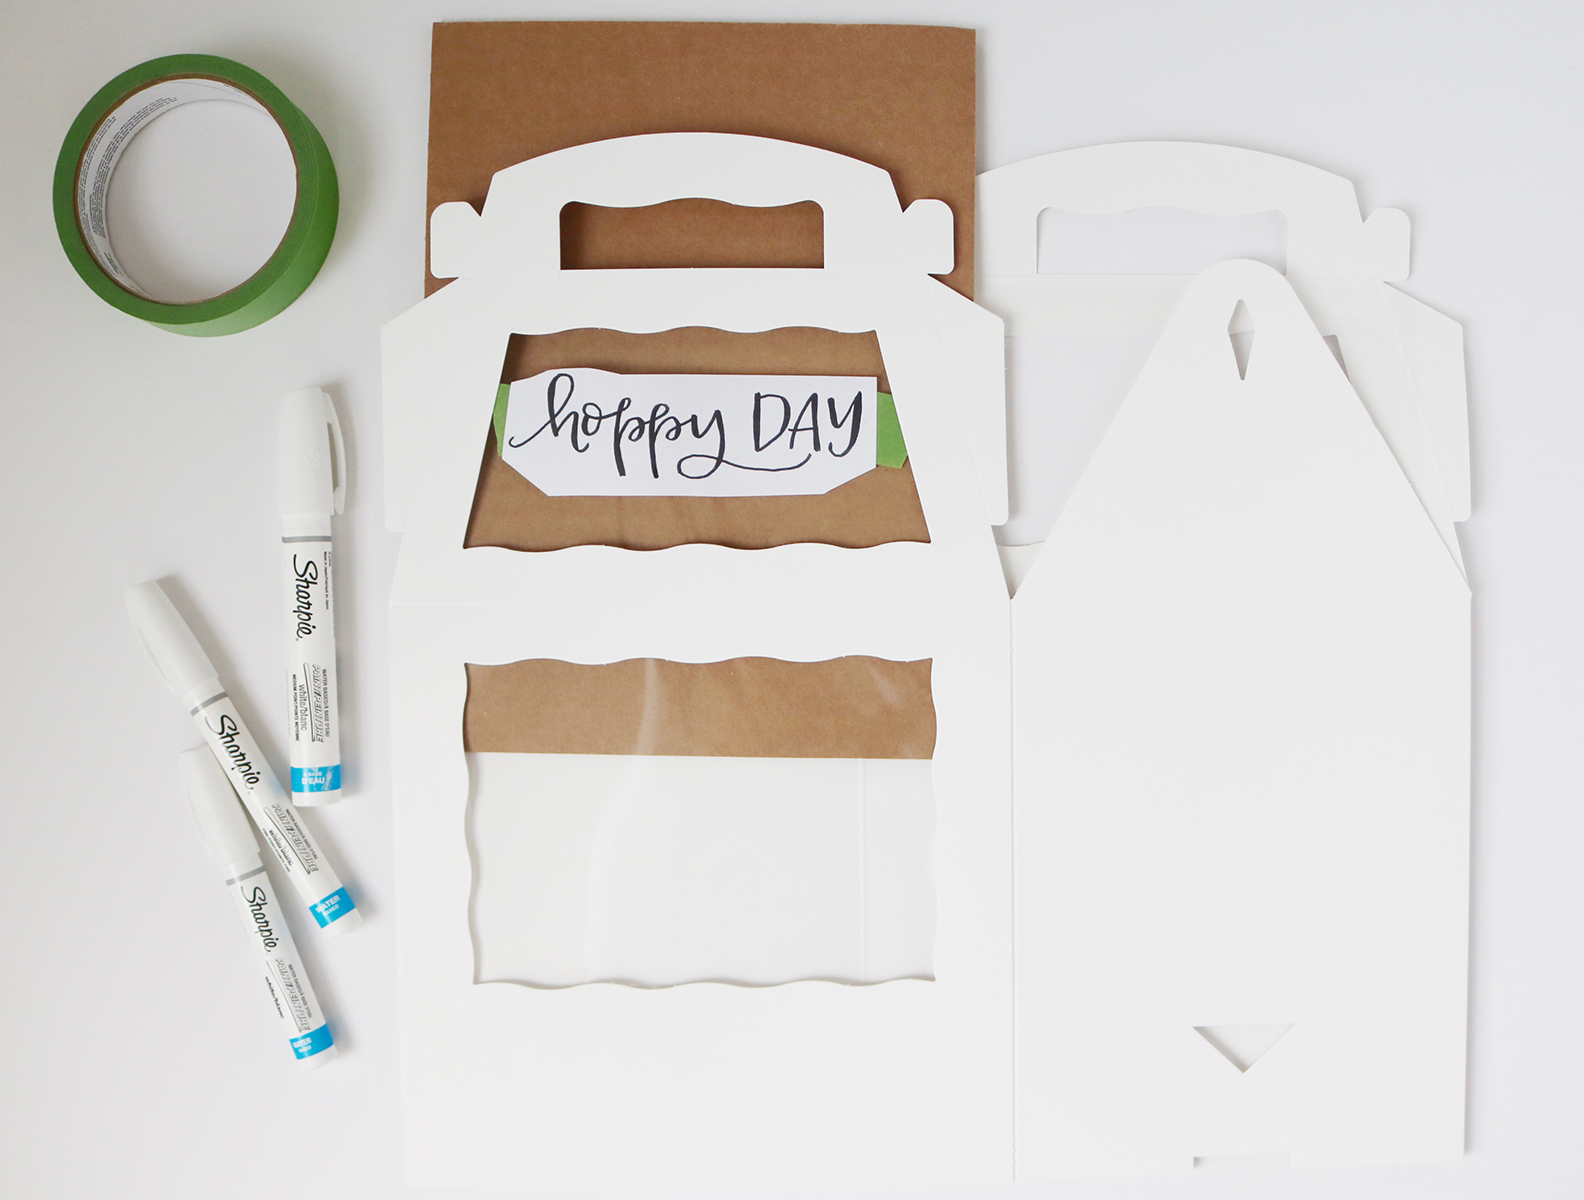
Here's how you can recreate the "hoppy day" hand lettering on the cake pop box window:

Oh hoppy day! Sweet hostess gift wrapping inspiration using cake pop boxes and DIY faux hand lettering | Creative Bag


  1. Download the printable template.
  2. Print the template "size as is" to fit the box window.
  3. Cut the lettering out and centre it inside of the box as shown above. Use painter's tape to hold the lettering in place.
  4. Using a white Sharpie paint marker, trace the lettering on the outside of the window.  


Oh hoppy day! Sweet hostess gift wrapping inspiration | Creative Bag

You can also use the "hoppy day" template to add faux letter on glass containers.
Use the same white Sharpie paint markers on glass so you can remove the lettering later using water and a paper towel.


If you try any of these ideas, tag us at #creativebaginspire and @creativebagco so we can see what you've created.

Hoppy Easter!


Oh hoppy day! Sweet hostess gift wrapping inspiration using cake pop boxes and hand lettering | Creative Bag


Some bunny loves you ... Easter packaging and {free} Easter gift tags

Monday, 26 March 2012

Just in time for Easter planning ... here's a fun way to package a small chocolate bunny and a selection of colourful candies in our clear air tight jars. These clear jars are great for kids because they are not glass and the kids can use them afterwards to store crayons, craft supplies or small toys.

Packaging instructions:
1. Gather your supplies. A large clear jar, a small solid (or hollow) chocolate bunny that will fit inside the jar once the lid is closed, small colourful candies (I used M&M's in the limited edition spring colours), twine and assorted ribbons and if you want to use my {free} Easter gift tags you will need my download and either our Clean Edge 80lb card tags (KP10) or cardstock paper. You will also need scissors to cut the ribbons.
2. I filled about 1/4 of the jar with the M&Ms. If you just drop them into the jar the candies may break - so be careful.
3. Then I gently inserted the chocolate bunny into the centre of the jar and continued to place a few more M&Ms in front and behind the bunny to make sure that the bunny stood straight. You don't want to completely cover the bunny so don't add too many more M&Ms ... it's okay to eat a few of the M&Ms if they don't all fit (I won't tell the kids if you don't!)
4. Close the lid on the jar and now you are ready to tie an assortment of different ribbons to the outside of the jar as a decorative element. I used a variety of different kinds of ribbon (satin, organza and grosgrain) in an assortment of colours (similar colours to the candies inside) and all of varying widths. I did not tie the ribbons in any special order ... just start tying the ribbon onto the metal hinge and continue to tie on ribbons until you have the look you want. If you use my gift tag, you may want to attach it with a piece of twine as I did. I also tied some twine around the jar - just above and below the metal band ... you should be able to see it in the last two photos above.

  I created a chevron gift tag that can be attached to these Easter gifts and they were designed to be used with our Creative Bag Wedding Clean Edge 80lb cards (KP10) ...
We don't sell these cards on line but they can be special ordered in all three of our stores. Our Toronto store has inventory of select shapes and colours of the Clean Edge cards in packages of two sheets. I love the Clean Edge cards and Exacto labels because they match our Options Wedding Favor Boxes so if you want to make tags or labels to match your favors these are amazing.

I created the download so that you have two options - 1. print them on the "tag shaped" (KP10) Clean Edge 80lb Card using the download that is "print ready" or 2. print them on plain white card stock using the download showing the tag outline and cut them out by hand.
Here's my tips for printing on the 80lb Clean Edge Cards.
1. I used my ink jet printer at home - my printer is made by Brother and is from their "professional series" model MFC-J6510DW.
Note: the matte coloured cards are laser and ink jet compatible, the metallic colours are laser compatible - so make sure that your home computer is compatible before you start printing.
2. I used the manual feed on my printer because the 80 lb Clean Edge Card was too thick for my paper tray and it got stuck the first two times I tried. I was able to print the metallic coloured cards on my ink jet printer but I know that they WILL NOT PRINT on ALL ink jet printers.
3. I test print on plain white paper anytime that I am using special papers on my home printer to make sure that the document is set properly and the ink is good.
PLEASE do not skip this step ... you'll thank me later for this tip!
4. When you are printing my art do not set the printer to "size to fit" ... the art is the correct size for the template and will print properly if left alone.
5. Select "best quality print" and if you have a "vivid" colour mode select it as well so that the pastel colours don't fade.
6. You want to use my "print ready" download for the Clean Edge Cards ... this version does not show the outline of the tag shapes ... you don't want to print the tag outline.  The art is made to "bleed" off the die cut edges ... that is so that if your printer is slightly off the art will still print to the edges. You want to keep this in mind if you create your own art for these tags on line.
7. Once you have printed your tags you can pop them out as you need them. You can store your unused tags in place on the sheet ... it's easy to keep them in a file folder on the sheets and you can store the left overs for next year.


you can print these on plain cardstock and cut out with scissors and finish with a hole punch.