Showing posts with label confetti. Show all posts

Will You Be My Bridesmaid Proposal Inspiration

Thursday, 30 March 2017


Here's a peek of the Bridesmaid Proposal gift box that I created using Weddingstar products. You can find all of the details, DIY tutorial and my free download here. I will be sharing my inspiration for creating one of these proposal boxes for a flower girl next week. 

Products used in this project:


DIY wrapping paper confetti poppers

Thursday, 22 December 2016


diy wrapping paper confetti poppers | Creative Bag

Looking for a way to use up your wrapping paper scraps? Or perhaps you are looking at a pile of used wrapping paper and wish you could find a way to recycle it other than adding it to a blue bin? Here's a fun way to bring in the new year and take care of that left over wrapping paper. Use a paper shredder to make your wrapping paper scraps into confetti. Then get to work creating your own confetti poppers using push pop containers!

diy wrapping paper confetti poppers | Creative Bag

I've shown you how to make these confetti poppers before for weddings and parties. You can find the tutorial for creating these confetti poppers here.

diy wrapping paper confetti poppers | Creative Bag

I used wrapping paper scraps and ribbon to decorate the push pop containers.

diy wrapping paper confetti poppers | Creative Bag

Everyone at Creative Bag is looking forward to taking some time off with family and friends during the holidays. We thank you for your business and look forward to being creative and working with all of you in the New Year. 


hip hip hooray - our new website is live ... let's get this party started with 5 free downloads

Friday, 5 June 2015


Creative Bag | packaging supplier for business, marketing, parties and celebrations

We quietly launched our new website at the end of May. We have been testing the site and getting customer feedback for a couple of weeks and now we are ready to do our happy dance and throw a little party to celebrate. Starting next Monday (June 8th) - we are going to get the party started with 5 days of giveaways and daily product specials. Everyday has a "theme" and the products on sale and in the prize package will be related to the daily theme.

I created these five tote bags for the daily giveaways. All five bags have been filled with goodies and at the end of the week we will draw one lucky winner for each bag. You have to enter for each day's giveaway and there will be lots of ways to get extra entries into the daily draws.

free downloads for tote bags and favors | celebrate with Creative Bag

Everyone at the office liked the fun graphics I created for the bags so today I'm going to give you the art so you can recreate these yourself. These free downloads are for personal use only and were designed to be printed on our iron on transfers. You can find instructions for using the iron on transfers on the package and in my tutorial here.  The cotton bags can be found here.

The sayings on the bags will give you a hint as to what the daily theme is all about - want to guess what they are?

free downloads for tote bags and favors | celebrate with Creative Bag

Monday June 8th ... "you are the sprinkles on my cupcake"

free downloads for tote bags and favors | celebrate with Creative Bag

Tuesday June 9th ... "if you can dream it you can do it"

free downloads for tote bags and favors | celebrate with Creative Bag

Wednesday June 10th ... "we go together like coffee and donuts"

free downloads for tote bags and favors | celebrate with Creative Bag

Thursday June 11th ... "I love you more than chocolate please don't make me prove it"

free downloads for tote bags and favors | celebrate with Creative Bag

Friday June 12th ... "all you need is confetti"

Creative Bag | packaging supplier for business, marketing, parties and celebrations

I added a little surprise inside each of the bags ... our new logo and some of our new branding elements. Since I hate to waste blank space on my iron on transfers, I'm also going to add into the download some mini versions of the graphics. I used the mini iron ons on our linen and cotton bags to make these cute party favors.

free downloads for tote bags and favors | celebrate with Creative Bag


Sign up to receive our email newsletter on our website if you are interested knowing about our promotions, sales and new product arrivals. We normally send out one email a week but next week there will be an email everyday to announce our 24 hour sale items and details about the daily prize draw.

I'll be blogging every day during the "party" next week - I hope that you'll join me! Have a great weekend.


diy confetti poppers and make your own confetti

Thursday, 14 May 2015


diy confetti poppers and make your own confetti | Creative Bag

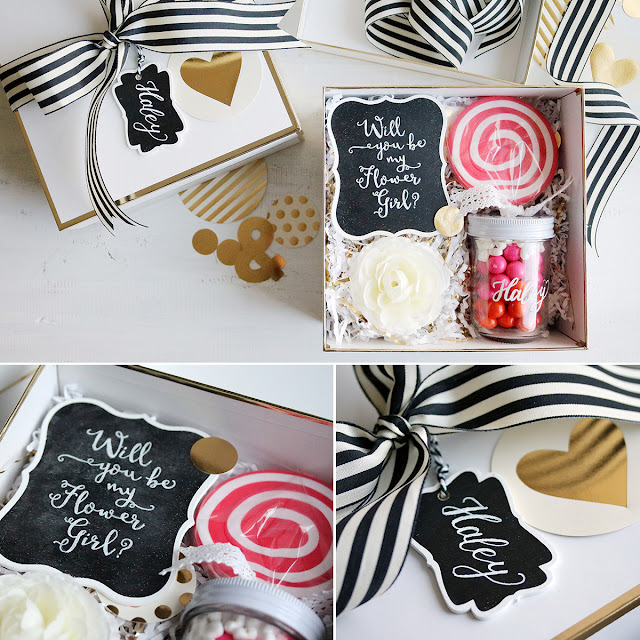
As the weather continues to get warmer, it seems like everyone is planning a celebration of some kind. I've talked to so many customers in our stores these past two weeks looking for ideas for weddings, bridal showers, anniversaries, baby showers and birthdays. 

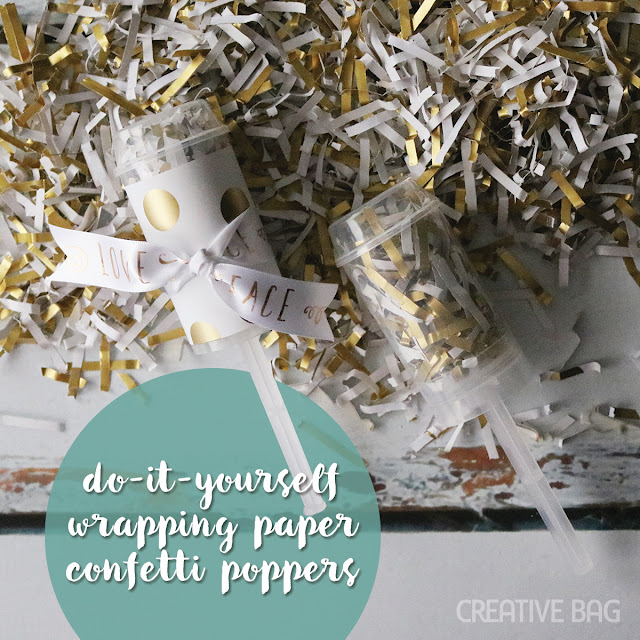
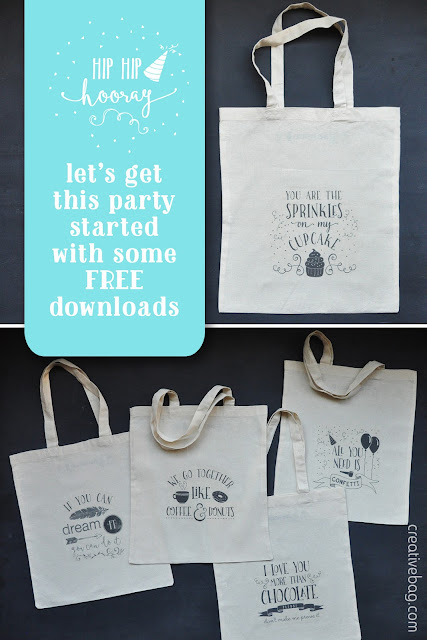
So today let's celebrate with some diy confetti poppers that you can create using our push pop containers , my free printables and confetti!

diy confetti poppers and make your own confetti | Creative Bag

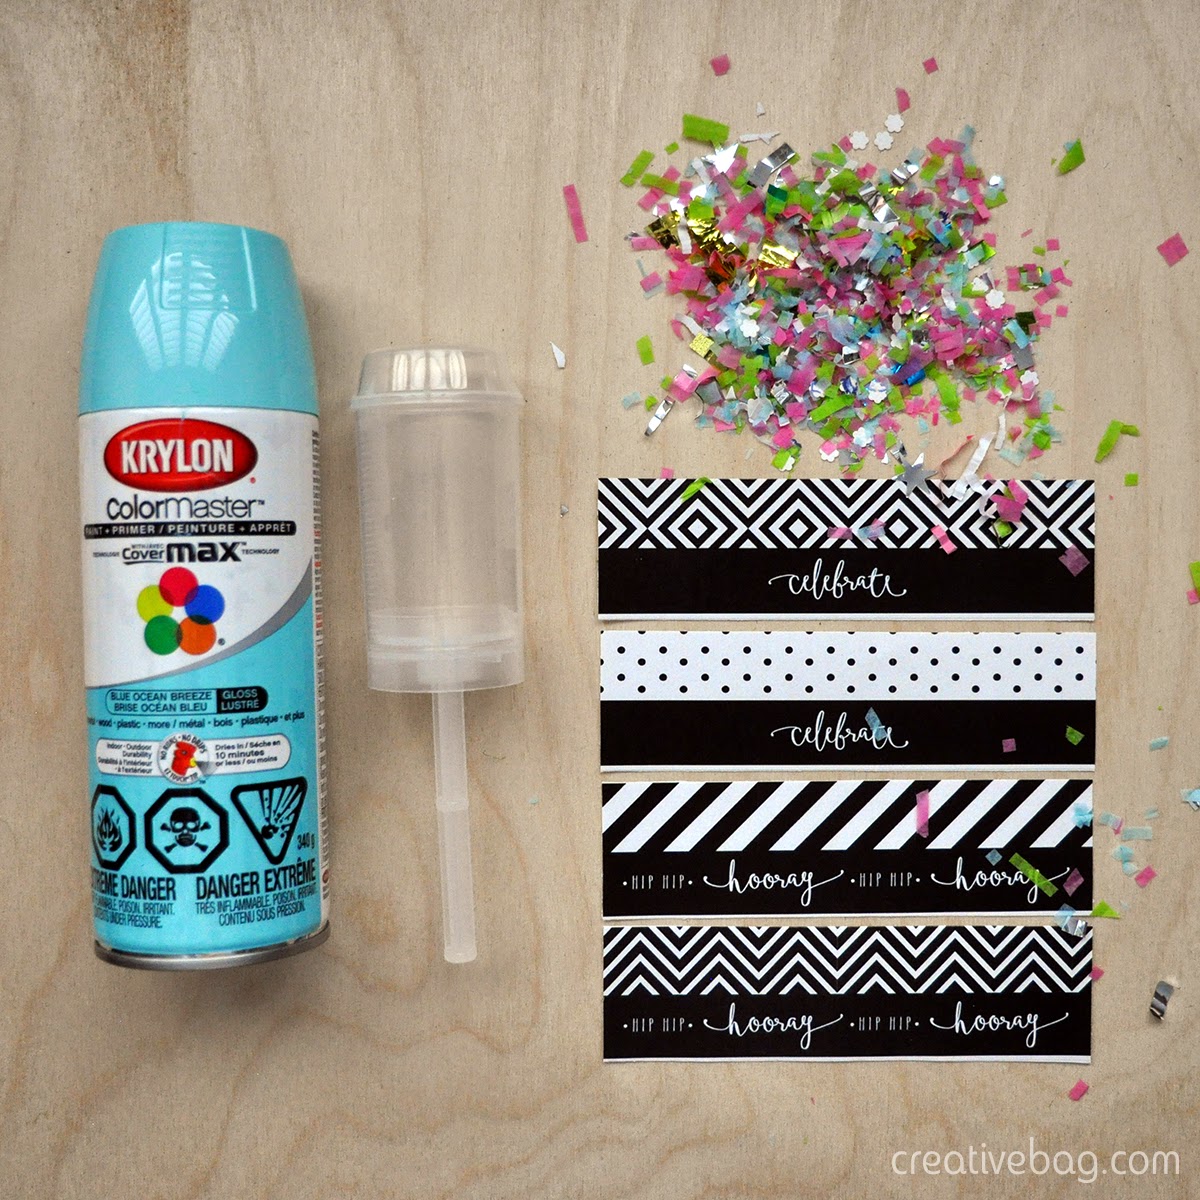
Let's gather our supplies: push pop containers, spray paint (in colour of your choice), confetti (I'll show you how to make your own in a minute!), download and print the labels. I printed my labels on blank sticker sheets - you could also print on white text paper and use two-sided tape to adhere them to the push pop containers.

diy confetti poppers and make your own confetti | Creative Bag

Note: You don't have to spray paint the push pop containers - this step is optional. 

Spray paint the stick and inside element of the push pop container to add a pop of colour but keep in mind that if you paint the push pop containers you will not want to reuse these containers for food.  

It will take a number of coats paint to completely cover the plastic - take your time so that you don't get any drips and allow the paint to dry COMPLETELY between coats. 

Tip: Allow paint to cure for 24 hours before assembling the push pop containers.

diy confetti poppers and make your own confetti | Creative Bag
  
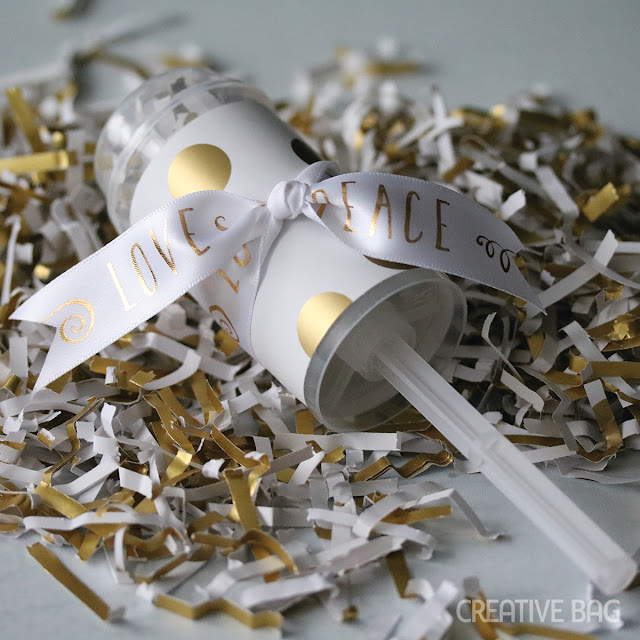
Assemble the push pop container pieces and add the label as shown above. 

TIP: If you want to use these confetti poppers for a baby "gender reveal" party or photo shoot, I'd suggest adding black and white patterned washi tape above and below the label and spray paint the push pop container top to hide the colour of the confetti inside.

diy confetti poppers and make your own confetti | Creative Bag

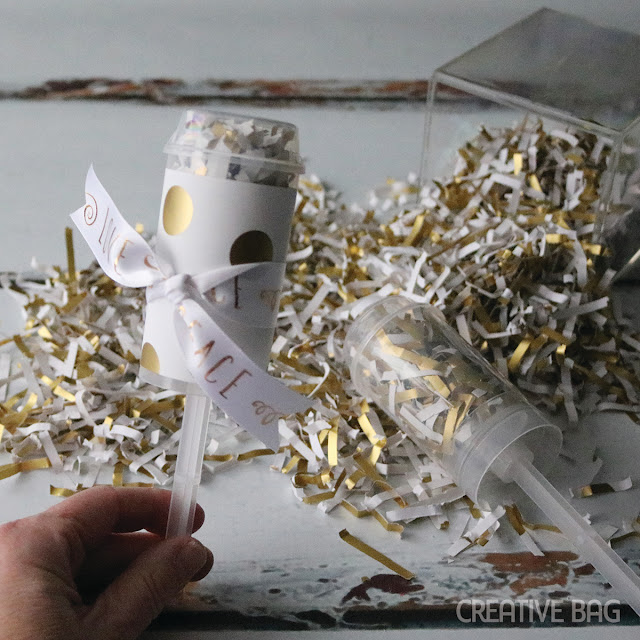
Now it's time to add the confetti. Push the confetti down into the container so that you can easily add the lid.

diy confetti poppers and make your own confetti | Creative Bag

Give the container a shake so that the confetti will expand into the open space under the lid.

You can buy premade confetti if you want, but it's really easy to make your own and I'm going to show you how I made mine.

diy confetti poppers and make your own confetti | Creative Bag

When you make your own confetti you have the ability to customize it to suit your party. White and gold confetti would be great for a wedding. Having a baby? Use pink or blue confetti for a gender reveal party or photo shoot. The options are endless.

diy confetti poppers and make your own confetti | Creative Bag

Gather your supplies - tissue paper, paper sizzle, mylar sizzle, paper, scissors, fringe scissors, paper punch.


I used fringe scissors to cut tissue paper into confetti quickly and easily. Simply fold the tissue paper so you can cut four layers at a time. Cut the bottom edge with the fringe scissors and then cut the fringes again to create little squares. Don't have fringe cutters? Use regular scissors ... it just takes a little longer to cut!

diy confetti poppers and make your own confetti | Creative Bag

Our paper and mylar sizzle makes awesome confetti. And best of all - no special tools are required - just a pair of scissors. Bunch the sizzle into long strands and cut it into smaller pieces. 
  
diy confetti poppers and make your own confetti | Creative Bag

You can create confetti using small paper punches and paper scraps. I don't recommend this method if you are making a lot of confetti. It's time consuming and your hand will get tired of punching large quantities. I used a paper punch with hand grips and still found it difficult to punch for long periods of time.

Tip: I wanted to add a little extra sparkle to my confetti so I cut up some old mylar gift toppers that I had in my gift wrapping stash and a handful of sequins.

diy confetti poppers and make your own confetti | Creative Bag


Celebrate good times ... with a little help from Creative Bag!