Showing posts with label tissue paper tassel garland. Show all posts

Our exclusive new Blake collection is now available in stores and online

Sunday, 13 March 2016


gift wrapping supplies | Creative Bag

Our newest and exclusive line of gift wrap, the Blake collection, is now available in all stores and online. This floral watercolour inspired collection includes bags, gift wrap and tissue paper and it co-ordinates with many of our everyday products in white, gold and kraft. 
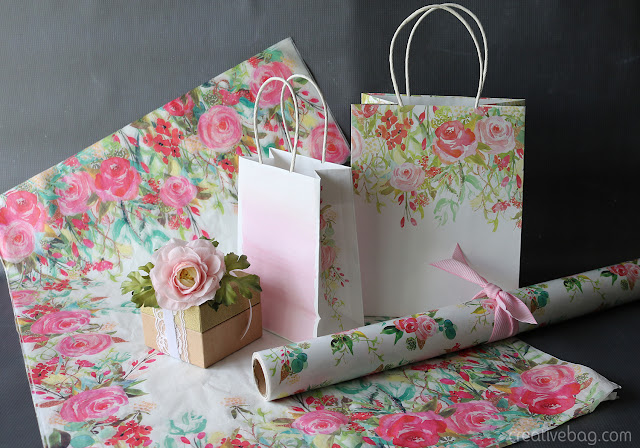
gift wrapping supplies | Creative Bag

Pink. Coral. Green. Turquoise. Gold. The watercolour pattern has so many beautiful colours that it makes finding ribbons and solid tissues to match it breeze. Make this collection sparkle by adding some gold glitter tape to your gift wrapping supplies and these boxes.

The tissue paper is white with the floral watercolour pattern around the edges. It is one of my favourite elements in the collection.
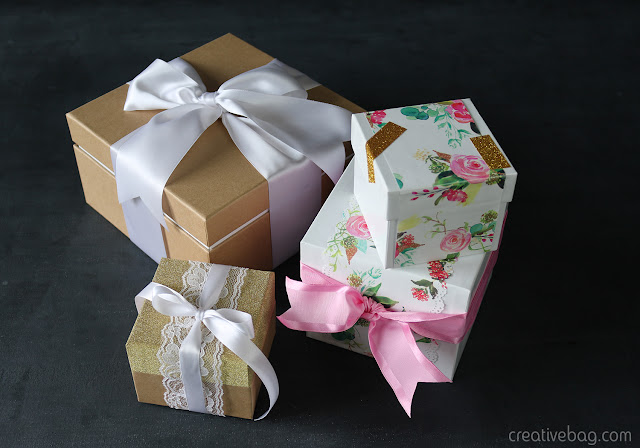
gift wrapping supplies | Creative Bag

White set up boxes were decorated with wrapping paper bands using the Blake wrapping paper and decorated with pink ribbon and gold glitter tape. You can use paper edge punches to give your wrapping paper bands an extra special touch. Kraft boxes with white and gold glitter details co-ordinate nicely with this collection when you decorate them with white satin and lace ribbons.
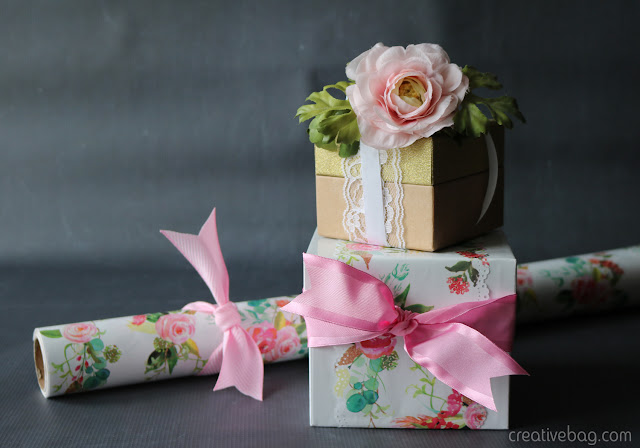
gift wrapping supplies | Creative Bag

Here's a little gift wrapping inspiration: add a flower as a gift topper. 
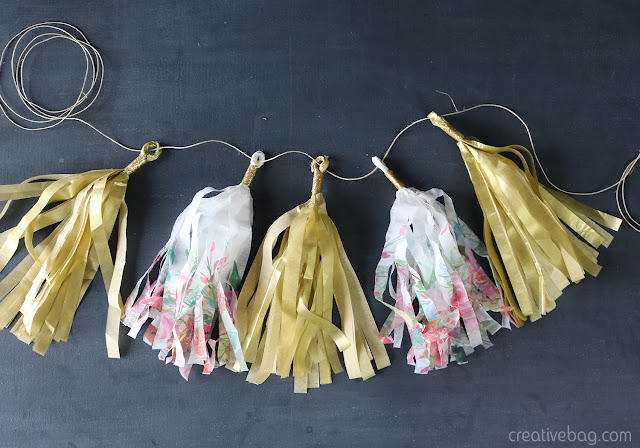
gift wrapping supplies | Creative Bag

If you are planning a party, the tissue paper from the Blake collection makes really interesting tissue paper tassels and tissue paper flower pompoms

gift wrapping supplies | Creative Bag

I'll be back to show you some party ideas using this collection soon.

gender neutral {birds and bees} baby shower inspiration

Thursday, 25 February 2016


birds and bees gender neutral baby shower | Creative Bag

If you are in our Toronto store in the next few weeks check out this fun gender neutral baby shower display that I put together with some help from Tanya of Save the Date Events and Doris from Love Lettering.

birds and bees gender neutral baby shower | Creative Bag

I took photos of all of our baby shower party ideas before setting up the display so I could share them with you here on the blog. Our colour palette was pool blue, pea shoot green, white and a touch of yellow. 


birds and bees gender neutral baby shower | Creative Bag

As you can see from the party favours, food and decor elements, our shower theme is "the birds and the bees". 

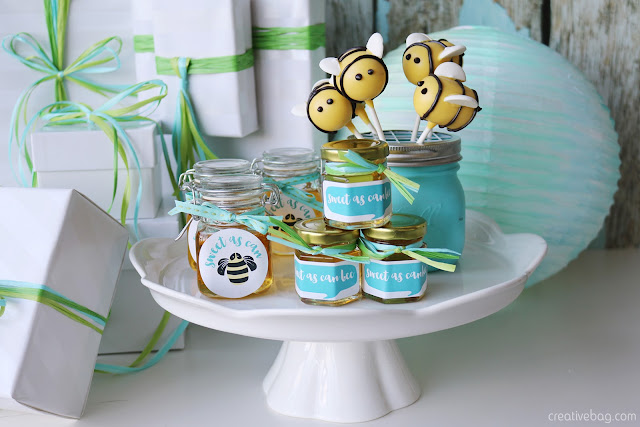
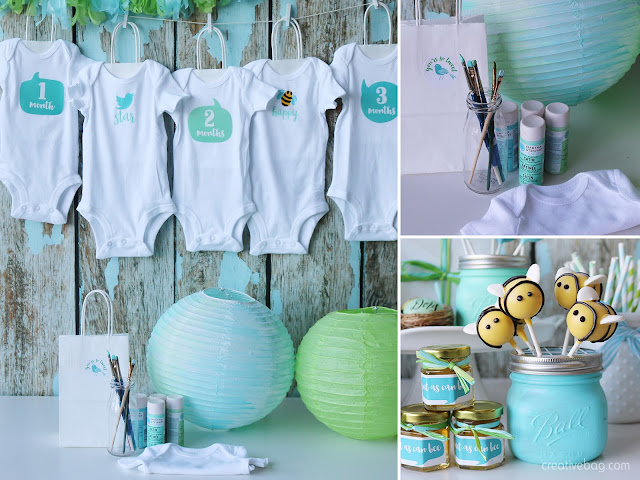
The sweet bee and blue bird cakepops were made by Save the Date Events. I painted some mason jars in blue and green and used them to display the cakepops. To keep the cakepops in place, I used a wire grid lid and added a cup of sugar to the bottom of the mason jar.

birds and bees gender neutral baby shower | Creative Bag

We recently installed some new equipment in our Toronto office so we can print custom labels. I tested a number of different label shapes with custom designs for the shower favours. We'll be offering custom label services soon, stay tuned for more details.

I created a few different party favours for the store display. A couple of our glass containers were filled with honey and decorated with custom labels, ribbon and wraphia. Our new white bird cages were filled with egg shaped candies and decorated with striped ribbon. Sunflower seeds were added to clear tubes and decorated with custom labels, washi tape and wraphia.

birds and bees gender neutral baby shower | Creative Bag

White set up boxes and boxes wrapped with white tonal striped wrapping paper were decorated with three different colours of wraphia and then used as decorations for the party.

Let guests know where to sit for lunch using our cute little nests with filled with a single hand lettered egg. The eggs for our baby shower display were decorated by the very talented hand lettering artist Doris from Love Lettering

birds and bees gender neutral baby shower | Creative Bag

I always like to use our white cake stands to display sweet treats. Get creative by preparing custom drinks in our glass bottles and set them up beside a container filled with paper straws in blue and green.

birds and bees gender neutral baby shower | Creative Bag

Paper lanterns and bunting made from tissue paper tassels shout "let's party". It's easy to decorate a large balloon with DIY tissue paper tassels and you can use it as a photo prop during the shower. We are waiting for a couple of lines of large balloons to come into the stores and I'll let you know when they arrive on Instagram.
birds and bees gender neutral baby shower | Creative Bag

I painted one of our white paper lanterns with the same acrylic craft paint that I used to decorate the mason jars. I added a little bit of water to the paint so it would have a "watercolour" effect on the paper lantern.

Here's a cute idea for a baby shower party activity - have every guest paint a onesie. Any acrylic craft paint can be made into a fabric paint by simply adding Martha Stewart's tintable fabric medium. Have guests paint the onesies using our small paper shopping bags to keep the paint from going through the fabric. Then hang the onesies up to dry on baker's twine using the bags as hangers with mini clothespins

birds and bees gender neutral baby shower | Creative Bag

Last year I created a download for "baby photo stickers". I reworked the art to co-ordinate with the colours of this gender neutral shower and you can download them here

birds and bees gender neutral baby shower | Creative Bag

You will need to use blank stickers to print the monthly photo stickers from my download. I used a 4x4x1 stationery box to package the photo sticker and an 8x8x6 set up box to package some onesies along with the photo stickers. The download contains two different options for the memory box lid - one is as shown with the "welcome baby" message and the other has no words so you can personalize it yourself with the baby's name and birth information. You can find all of my directions for this DIY project in this post

birds and bees gender neutral baby shower | Creative Bag

Thanks again to Tanya and Doris for collaborating on this display with me. 

I'm going to end with a picture of this sweet hand lettered baby's sleeping chalkboard sign that Doris sells in her Etsy shop


you can do it yourself - throw an anniversaryparty part three of three

Thursday, 23 July 2015


diy anniversary party part three | Creative Bag

This is my third and last post for the diy anniversary party. I've already shown you the sweet table and drink station and today I'm going to share with you some of the extra party details that I set up. 

diy anniversary party part three | Creative Bag

I set up a table with macaron favors and an alternative guest book idea for guests before they leave to go home.

diy anniversary party part three | Creative Bag

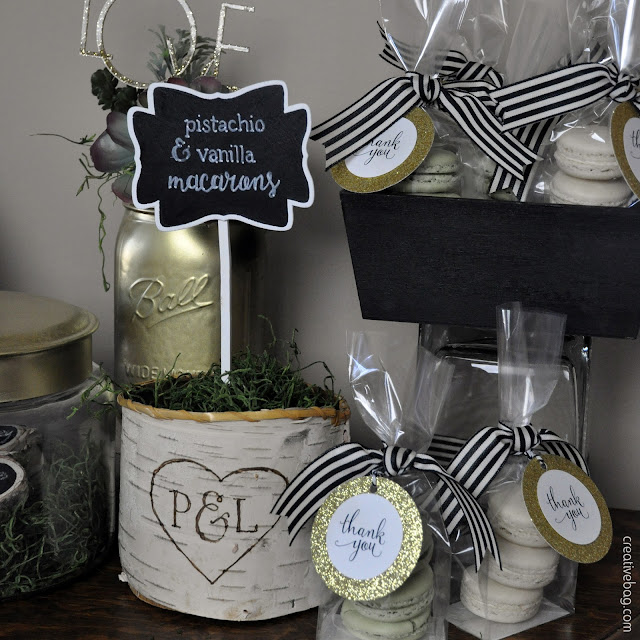
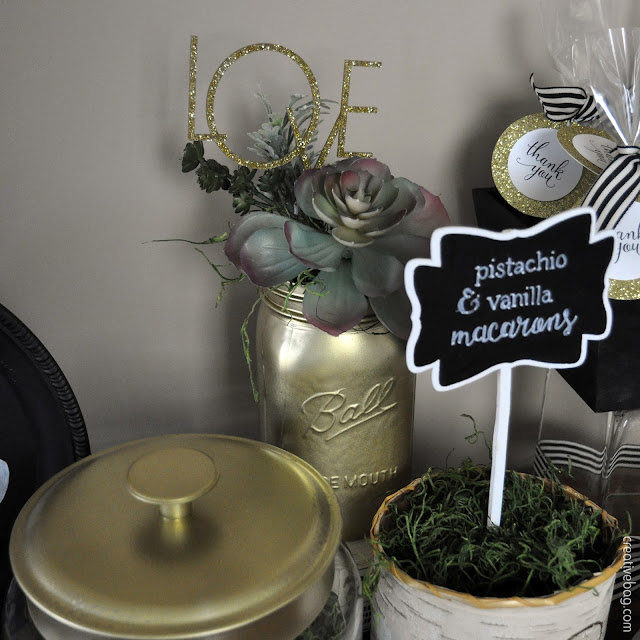
Our vanilla and pistachio macaron favors were created by Bake Sale

I could have added the macarons to the sweet table but I thought that it would be nice to have a little something to offer guests with a long drive home - especially if the party is at the cottage! I packaged three macarons in our 2-5/8"x1-7/8"x11" econo hard bottom candy bags

I placed a chalkboard sign by the macarons similar to the ones I created for the sweet table. The sign was inserted into a birch container filled with moss. I drew a design with pencil on the birch container and then used a wood burner to complete the project. If you don't have a wood burner, use a brown sharpie marker to create a similar effect on a birch covered vase.

diy anniversary party part three | Creative Bag

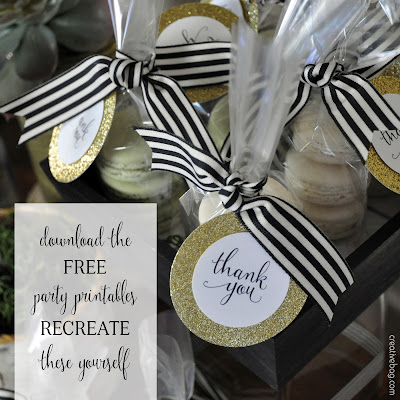
 The favor packages were embellished with black and white ribbon. The gift tags were created using graphics from the party printables that were printed on white card stock and glued to glitter paper circles. Black baker's twine was used to tie the gift tag to the bag.

Lorrie's tip: Our new econo flat bottom candy bags are a cost effective option for packaging favors. There are a number of size options so it's easy to find a size to suit your needs. If the bags are too long it is easy to cut the tops down to fit whatever you put inside.


diy anniversary party part three | Creative Bag

diy anniversary party part three | Creative Bag

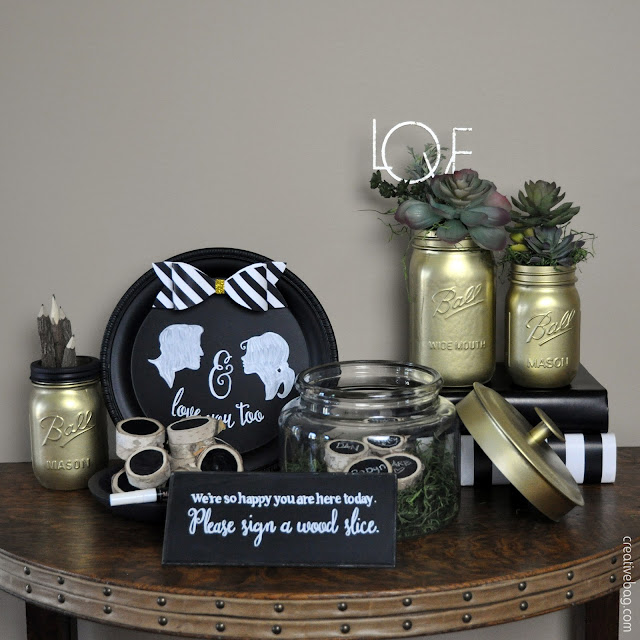
I'm sure that you had a guest book at your wedding ... so why not set up a guest book alternative at your anniversary party. To co-ordinate with the party theme I wanted guests to sign mini wood slices that I painted on one side with chalkboard paint

Guests can sign the blank wood pieces with a chalk marker and then place them inside a glass container. I lined the bottom of the glass container with moss and spray painted the lid with gold paint.


diy anniversary party part three | Creative Bag

You can find the tutorial for making paper bows from the party printables here.


diy anniversary party part three | Creative Bag

Chalkboards signs let guests know what to do ... a great idea if you are doing something a little different!!


diy anniversary party part three | Creative Bag

Spray paint is an easy way to add colour to pretty much anything to match your party theme.


diy anniversary party part three | Creative Bag

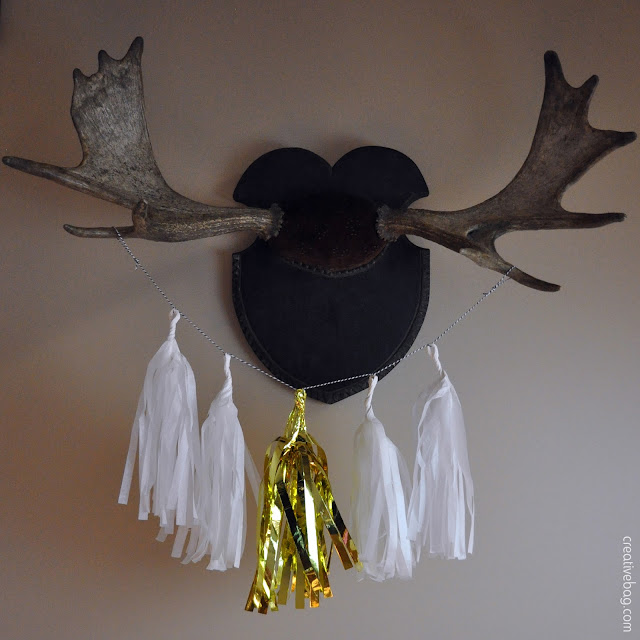
Tissue paper tassel garlands are still one of my favourite party decor items. These ones were made from the same David Tutera tissue and mylar tassel kit that I used for the balloons by the drink station.


diy anniversary party part three | Creative Bag

One last detail - I like to keep a supply of take out boxes on hand for party leftovers. They are way less expensive than giving away your plastic food containers and guests can fill them up without feeling obligated to return the containers later.

I hope that I have inspired you to throw a party whether it is an anniversary party or just an excuse to get together with family and friends.

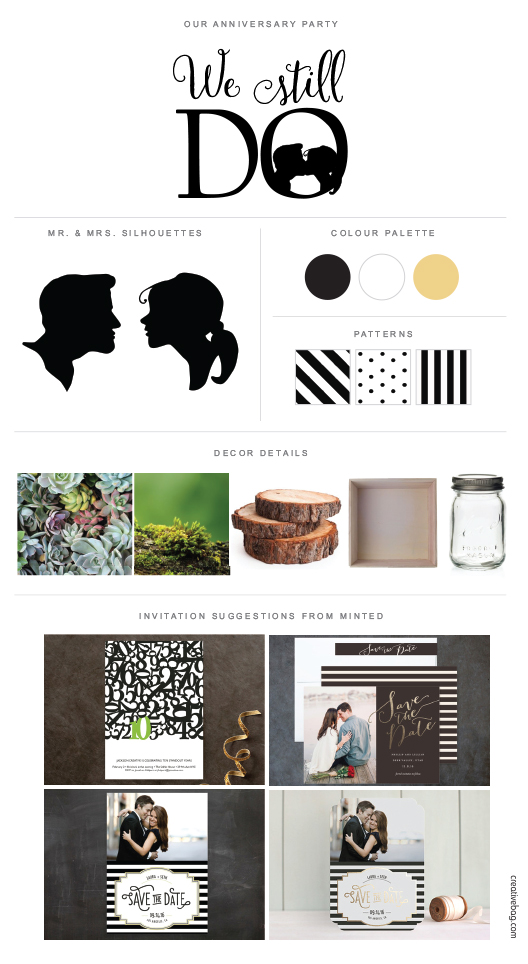
Here's my party mood board -
diy anniversary party part three | Creative Bag

I did not design invitations for this party so I quickly looked to see if Minted had any that I thought would co-ordinate with the look of my party theme and party printables. Above is what I came up with ... top left, bottom left, top right, bottom right.  I especially like the designs on the right with the gold foil details.


diy anniversary party part three | Creative Bag

Here's the downloads for the party printables again!

Special thanks again to Bake Sale for supplying all of the baked goods for the photo shoot!


Creative gift wrapping ideas: tissue paper gift topper tutorials

Monday, 8 December 2014

diy tissue paper gift toppers by Lorrie Everitt from Creative Bag

Have you started your holiday gift wrapping yet? Or do you wait to do it all together after you have finished shopping? Personally, I have always loved the gift wrapping part of the holidays the best and try to get the majority of it done early so that the presents are part of the holiday decor at our house.

 I organize all of my packaging supplies in one place, pull out the bags of gifts I've been hiding in my closet (hopefully my kids are not reading this!) and then I make a pot of tea and turn up the music. This year I am going to be making a number of tissue paper bag toppers - pom poms and tassels. You may have seen these featured in our holiday online magazines, Creative Living.

diy tissue paper tassel gift toppers by Lorrie Everitt from Creative Bag

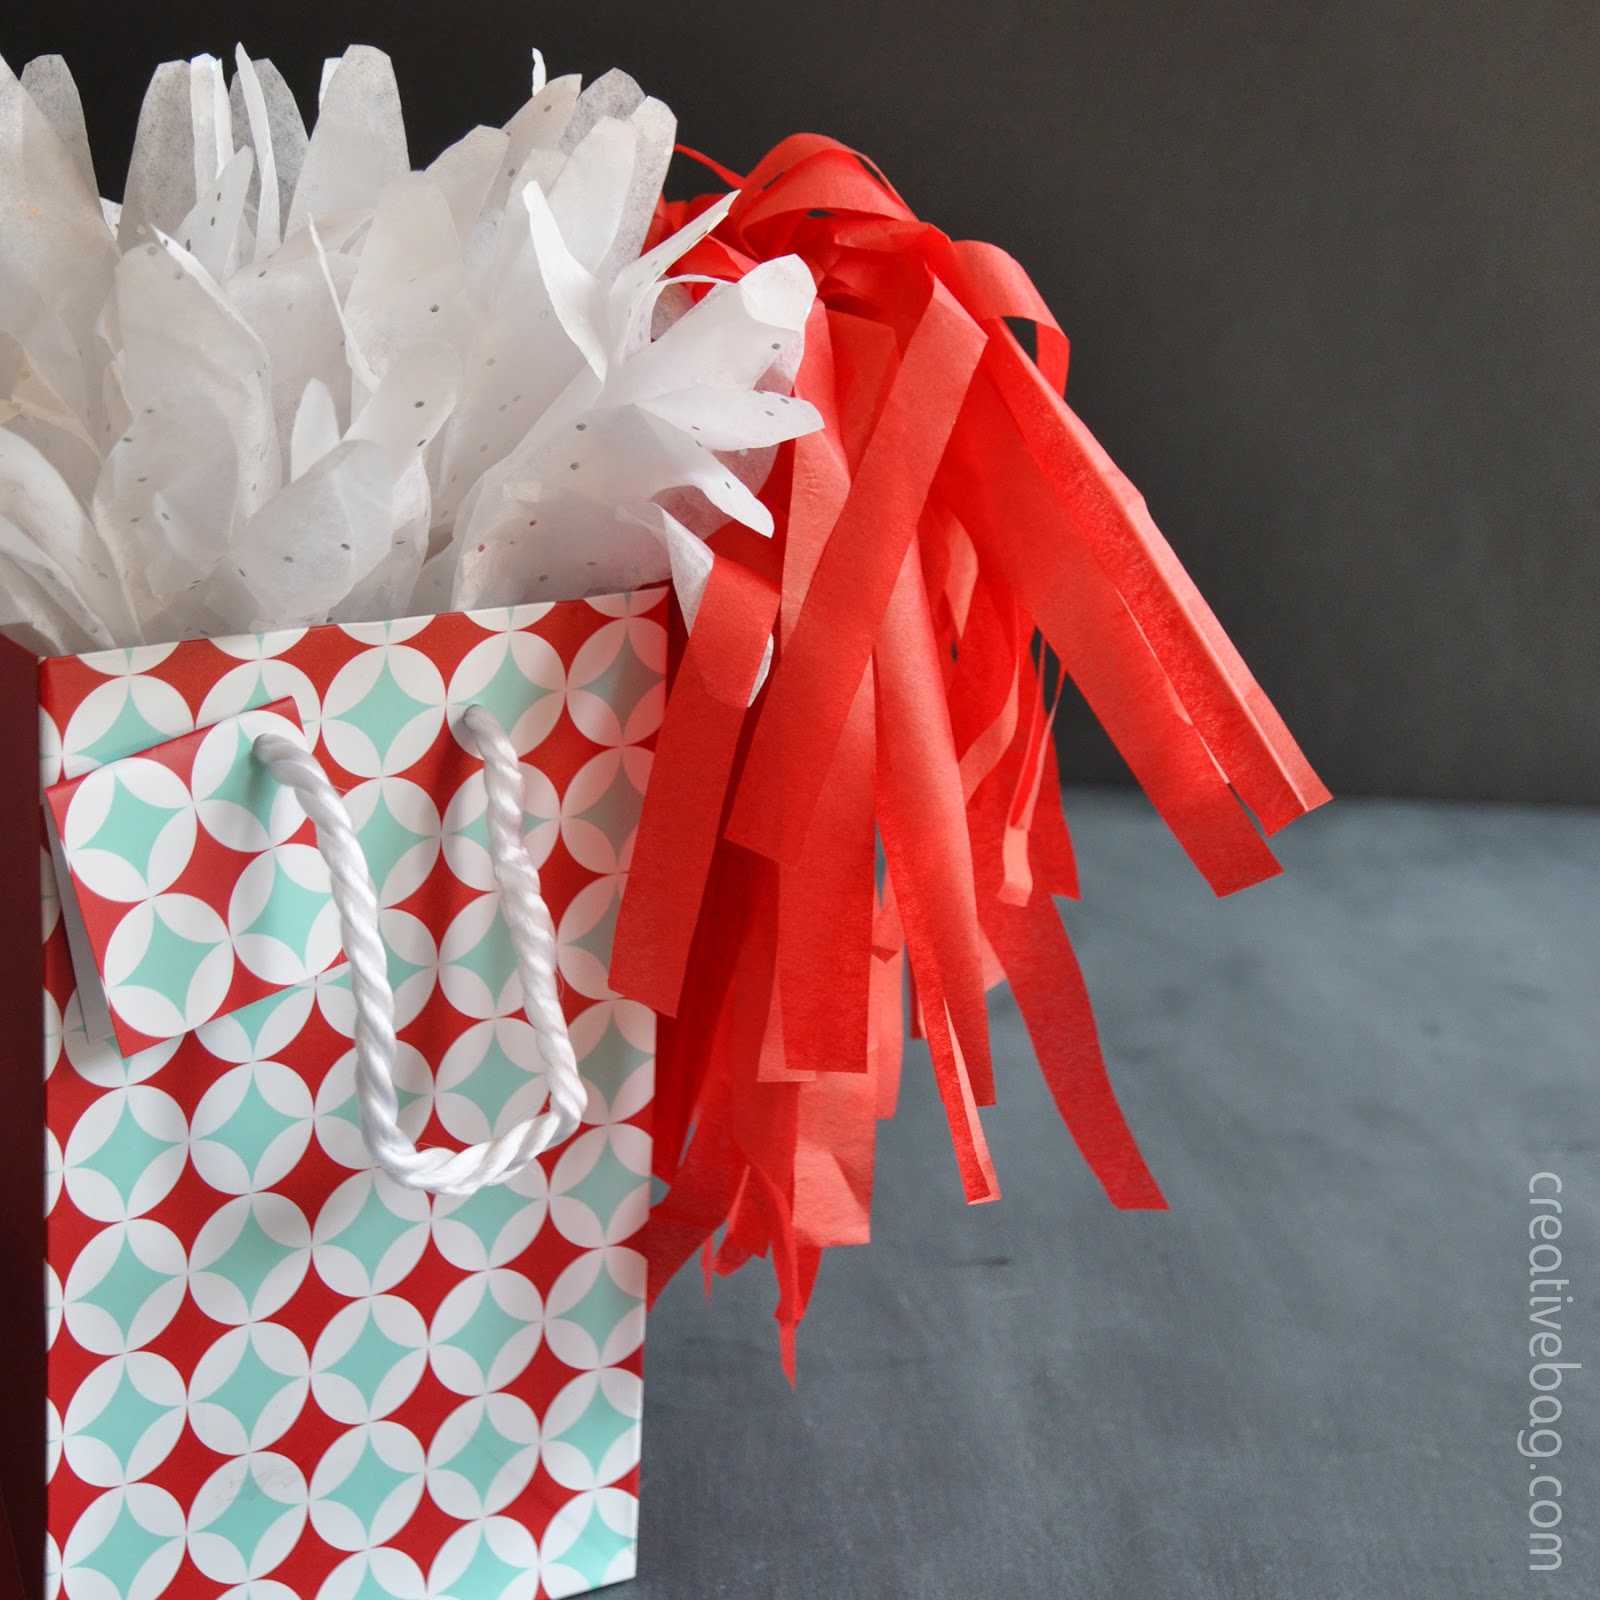
This is the tissue paper tassel bag topper. It's a tissue paper tassel that has been added to a paper straw using baker's twine

diy tissue paper tassel gift toppers by Lorrie Everitt from Creative Bag

Basic directions for making a large tissue paper tassel:

1.  Cut each sheet of (20” x 30“) tissue paper into two (20”x15“) sheets. 

2. Fold tissue in half (10”x15”) and cut fringes 1/2“ wide starting 1 1/2” down from the folded centre edge. To save time, you can cut multiple sheets of tissue together if you are making more than one tassel.  

3. Open the tissue paper and lay flat. You should have 3” of uncut tissue in the centre of each sheet and fringes on either side. Using one sheet of tissue at a time, roll the tissue as shown above. 

diy tissue paper tassel gift toppers by Lorrie Everitt from Creative Bag

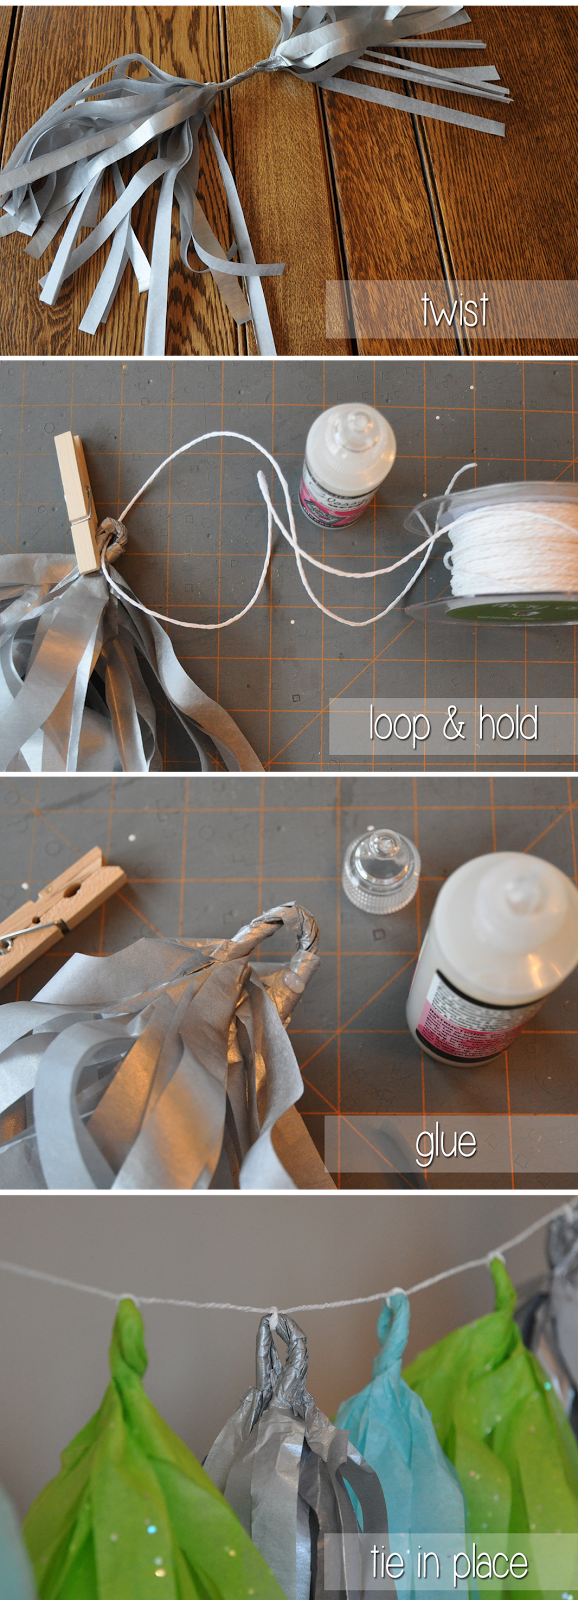
4. Tightly twist the rolled middle section of each tassel as shown above. Untangle and fluff 
out your fringes so the tassels hang nicely.

5. Fold the tassel in half and twist to create a loop for hanging. Add a small drop of glue at the 
bottom of the loop to hold in place. 


diy tissue paper tassel gift toppers by Lorrie Everitt from Creative Bag

6. To attach tassel to paper straw - add a bit of glue to the end of the paper straw and lay it over the loop of the tassel. Once the glue is dry, tie the tassel and straw together using baker's twine.


I've shown you how to make tissue paper pom pom bag toppers before ... here's another variation on this diy using staples and washi tape ...

diy tissue paper pom pom gift toppers by Lorrie Everitt from Creative Bag

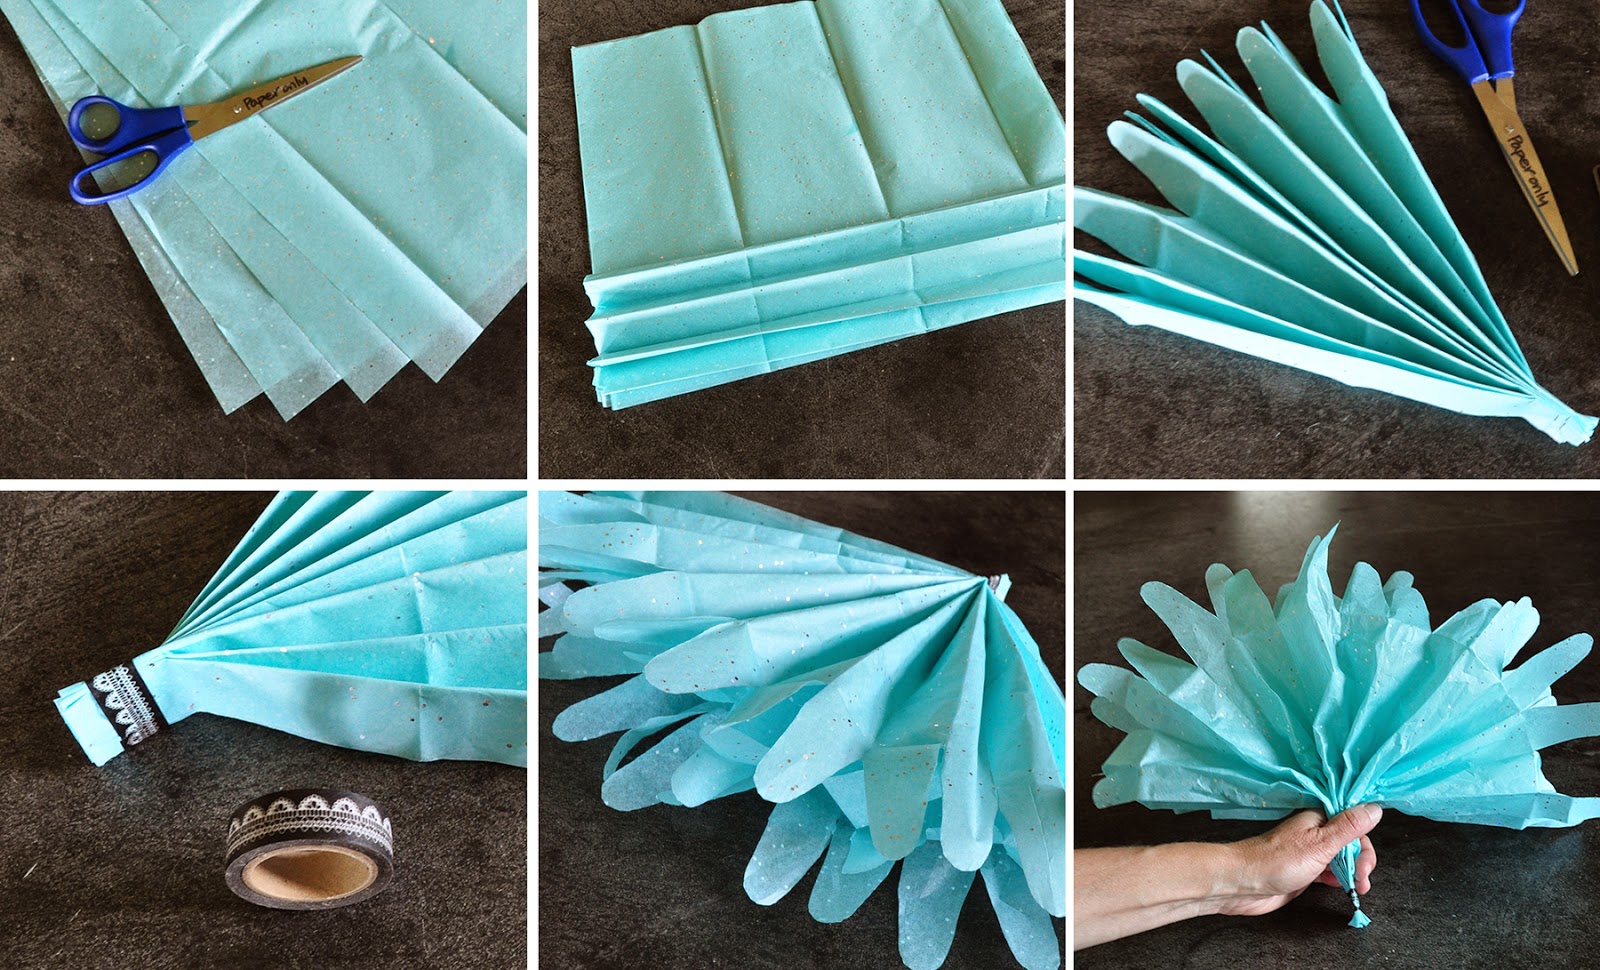
1. Cut tissue paper into four 20”x 15” sheets and stack together.  
2. Along the shortest edge, start making accordion folds about 1” wide. Crease tissue with each fold.  
3. Staple folded tissue on one end. Use scissors to cut the edges of the opposite end into a rounded, petal like shape.  
4. Use washi tape to cover the staples. Fan the tissue paper and make additional cuts if necessary so that the scalloped edge is fairly consistent.  
5. Separate the layers gently by pulling away from the centre one layer at a time. Do this with all layers.  
6. Fluff the top layers and scrunch the bottom so the pompom topper can be inserted into a bag


Lorrie Everitt from Creative Bag on Rogers Daytime TV (Durham) - diy advent calendar, tissue paper gift toppers and paper straw wreaths


I did a segment on Rogers Daytime TV last week and you can see how to make the tissue paper tassel bag toppers on it as well as some of the other projects that I have been making on the blog for the holidays. See the video from Rogers Daytime TV show here.


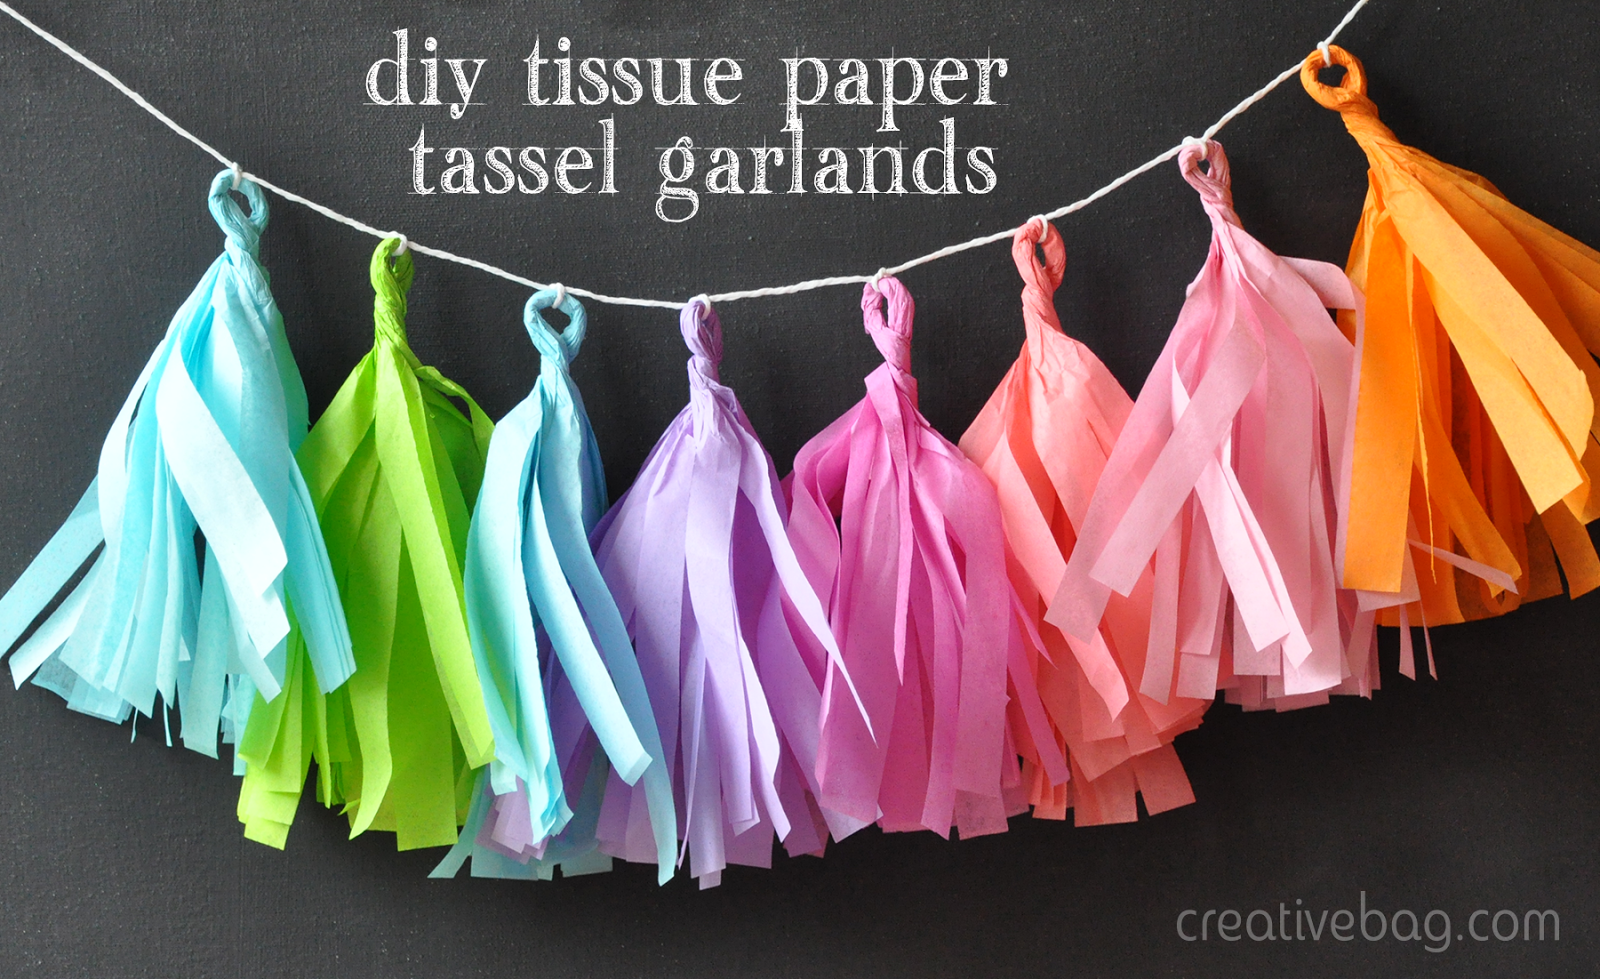
diy tissue paper tassel garlands and colour inspiration for parties, showers and weddings

Monday, 2 June 2014


diy tissue paper tassel garlands | by Lorrie Everitt for CreativeBag.com

I have received a few requests for how to make tissue paper tassel garlands so I am doing another post for making these and to show you some colour combinations for inspiration. 

If you missed my original tutorial for making them you can see here with all of my tips and tricks.

And now for a little colour inspiration!

Perfect for a baby shower for a boy ... mix two shades of blue.
diy tissue paper tassel garland colour inspiration | by Lorrie Everitt for CreativeBag.com

For your little princess who loves pink ... two shades of pink and white tissue with a little sparkle.
diy tissue paper tassel garland colour inspiration | by Lorrie Everitt for CreativeBag.com

For a summer party you can't go wrong with sky blue and grass green for a fresh colour combo.
diy tissue paper tassel garland colour inspiration | by Lorrie Everitt for CreativeBag.com

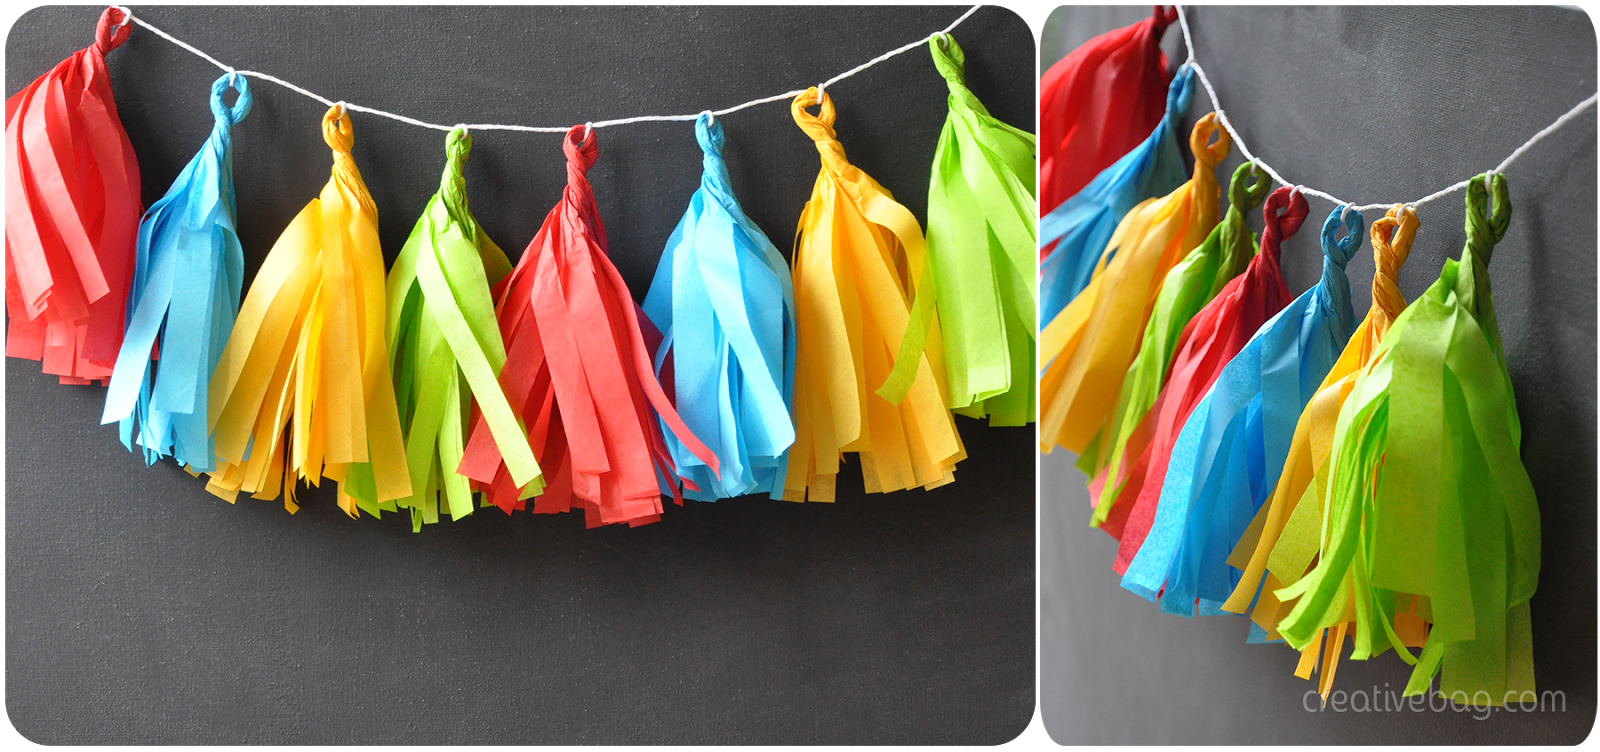
Primary colours (red, yellow and blue) plus one (green) is a fun combination ... don't you just want to pull out a new box of crayola crayons?
diy tissue paper tassel garland colour inspiration | by Lorrie Everitt for CreativeBag.com

Pastels combined with white and silver for a more grown up look ... imagine flowers in soft pinks, corals and peaches, green foliage and soft blue skies.
diy tissue paper tassel garland colour inspiration | by Lorrie Everitt for CreativeBag.com

Purple is a hot colour right now and I like to combine it with pink, blue and green.
diy tissue paper tassel garland colour inspiration | by Lorrie Everitt for CreativeBag.com

I have always been a fan of orange and pink ... here I've combined orange with few different pinks as well as purple, blue and green. This is one of my favourite colour combinations at the moment.
diy tissue paper tassel garland colour inspiration | by Lorrie Everitt for CreativeBag.com

Here's a quickie tutorial for making tissue paper tassel garlands ....  Just a reminder that you can find my original tutorial with pictures AND the full details here.diy tissue paper tassel garlands | by Lorrie Everitt for CreativeBag.com
diy tissue paper tassel garlands | by Lorrie Everitt for CreativeBag.com 

Want to add maximum colour impact to your party decor? Combine tissue paper tassel garlands with tissue paper pompoms in matching colours to get the most bang for your buck!
We have tissue paper pompom kits - can't find a colour in our kits? ... just follow these instructions and use any tissue paper colours you want!